A digital signature is commonly used to securely sign a document and enable its secure viewing after signing. To achieve this, a response mapping is required. A response mapping is simply the process of retrieving the document that was sent for digital signing.
Important
Before configuring digital signatures, it's crucial to set up the application correctly. The application should have two main sections: one for document signing and another for capturing response data.
When creating an application for digital signatures, two sections should be included:
- Document Signing Section: This section should include elements such as a text field for the signer's name and a file upload element for uploading the document for signature. Additional form elements can be added as needed.
- Response Mapping Section: This section is for creating response mapping to allow users to retrieve the signed document. It should include form elements such as a file upload to receive the signed document, transaction status (text), transaction number (text), reference number (text), and error message (text). These elements are essential for retrieving the signed document and related details. Additional elements can be added based on requirements, but the file upload feature is crucial for accessing the signed document.
Ensure these fields are created in the application before proceeding with Digital Signature configuration.
¶ 1. Configuring Digital Signature in Two Levels
To enable Digital Signature inside a Quixy application, configuration must be completed at two different levels. Each level serves a specific purpose:
¶ 1.1. Level 1 – Platform Configuration
- Navigate to Admin Menu → General → Integrations
- Select Digital Signature from the list of integrations and click Add
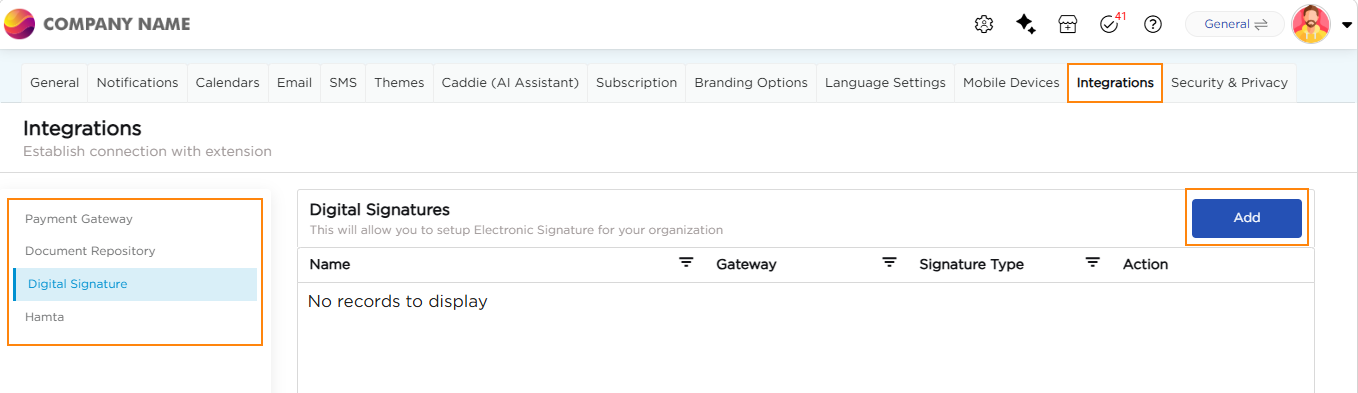
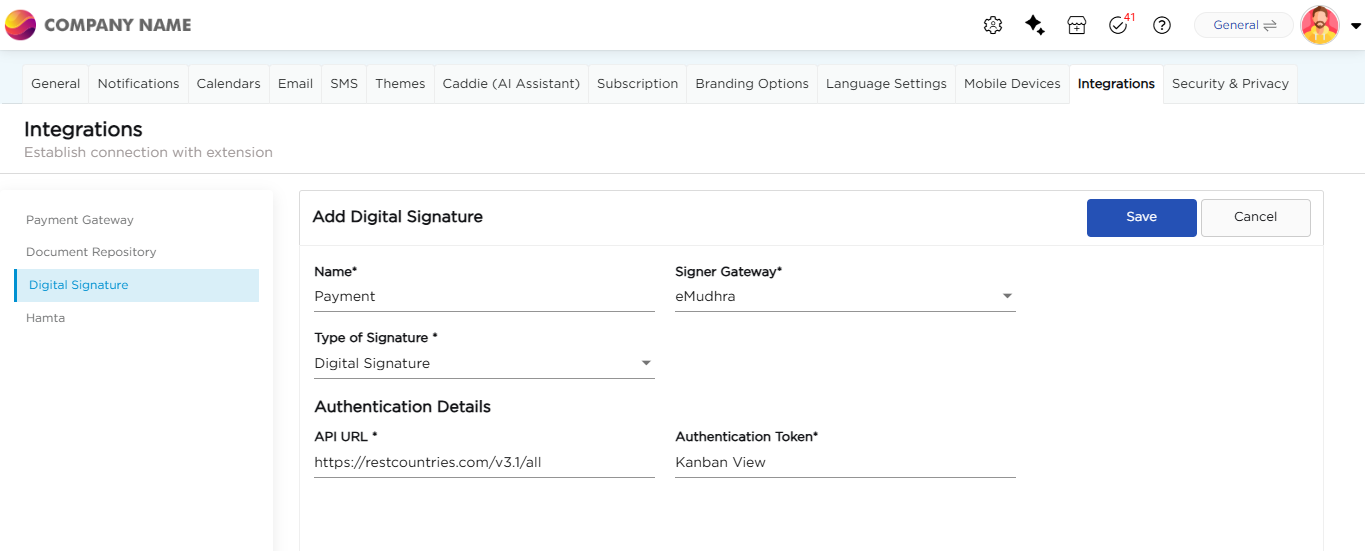
3. Provide the configuration a Unique Name.
4. Choose the Signer Gateway from the available options:
- eMudhra
- Signing Hub – Conclude
5. Choose the Type of Signature from the selected Signer Gateway options:
- Digital Signature
- Remote E-Sign
6. Based on the selected Type of Signature, the following authentication fields are displayed:
- If Digital Signature is selected:
- API URL
- Authentication Token
- If Remote E-Sign is selected:
- Upload License
- Client ID
- Access Key
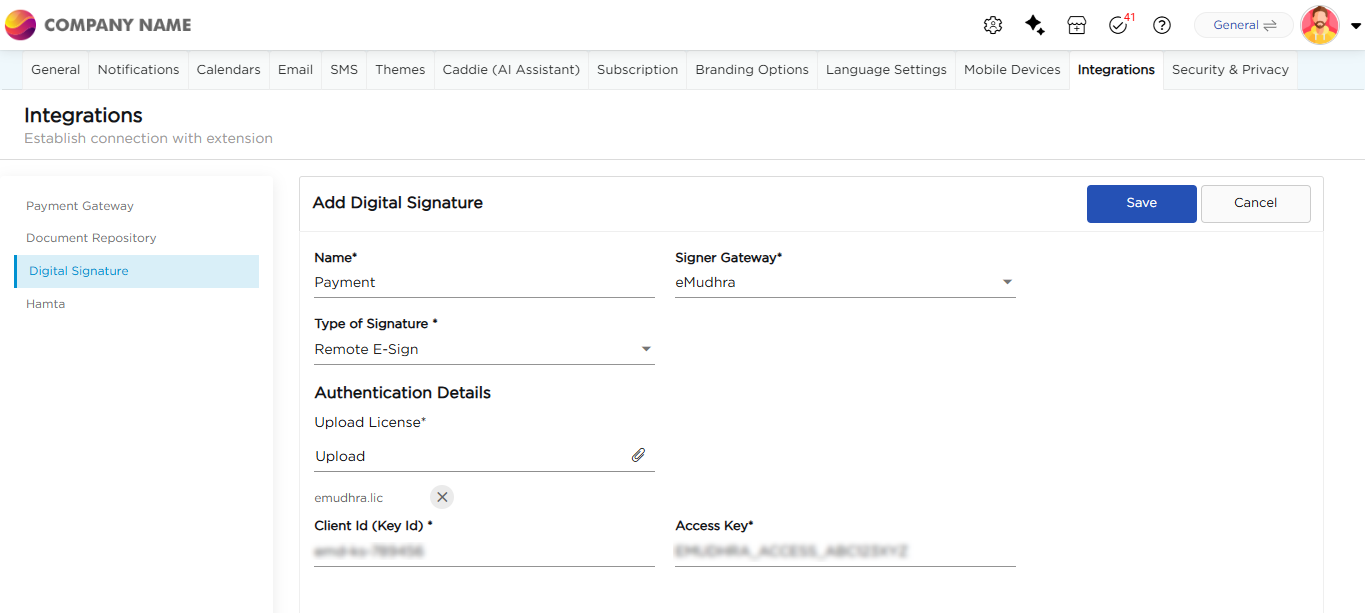
7. Enter authentication details required for selected signature type as provided by selected signer gateway.
8. Click Save. This completes the organization-level setup for Digital Signature.
¶ 1.2. Level 2 – App Configuration
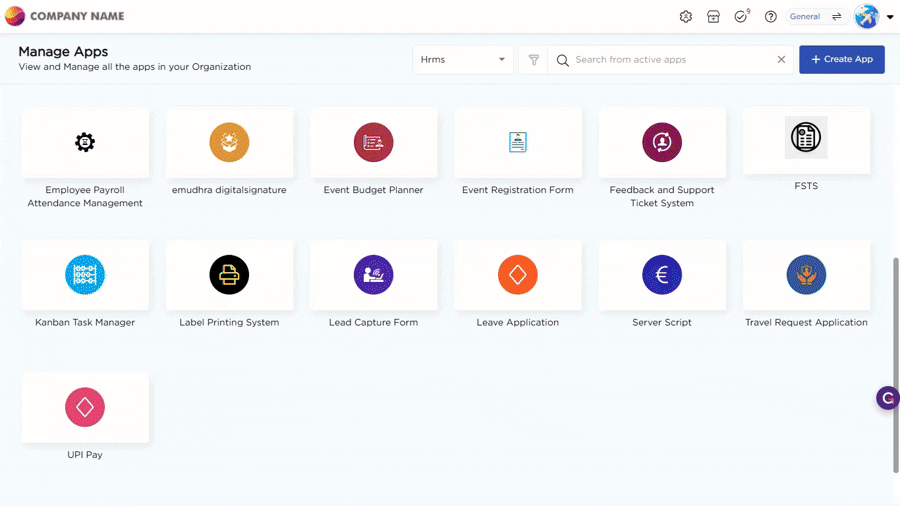
- Navigate to Admin Menu → Apps → Manage Apps.
- Select an application.
- Click on Events → Third-Party Integrations → Electronic Signatures.
- Select + Add Integration.
- Provide a name for the Event.
- Select the Workflow Step and Action where the digital signature should trigger.
- Select the Signer Gateway from the drop-down:
- eMudhra
- Signing Hub – Conclude
- Select the Integration Name from the drop-down. This lists the Digital Signature configurations created at the organization level for the selected signer gateway.
- If Signing Hub – Conclude is selected, specify the Number of Signers. Click Next to go to the Conditions tab.
- In the Conditions tab. Click on Configure this opens a pop-up.
- In the Signature Configuration tab, Configure the signature behavior based on the selected Integration Name. This includes:
- Select the Signature Type.
- Configure Signing Options, such as co-signing, if required.
- Configure Preview Options, if required.
- Configure Storage Options, if required.
- Select Page and Coordinates to define where the digital signature appears on the document.
- If Content Search is enabled, the Select Page and Select Coordinates options are not displayed.
- Select the Font Color for the digital signature, if required and then click Next.
- In the Field Mapping tab:
- Map the required request fields:
- Signatory Name
- Document to be signed and then click Next.
- In the Response Field Mapping tab:
- Map the response fields returned by the signer gateway:
- Signed Document
- Transaction Status
- Transaction Number
- Reference Number
- Error Message
- Map the response fields returned by the signer gateway:
- Click Save.
This gif below shows how to create a digital signature integration using Signer Gateway.
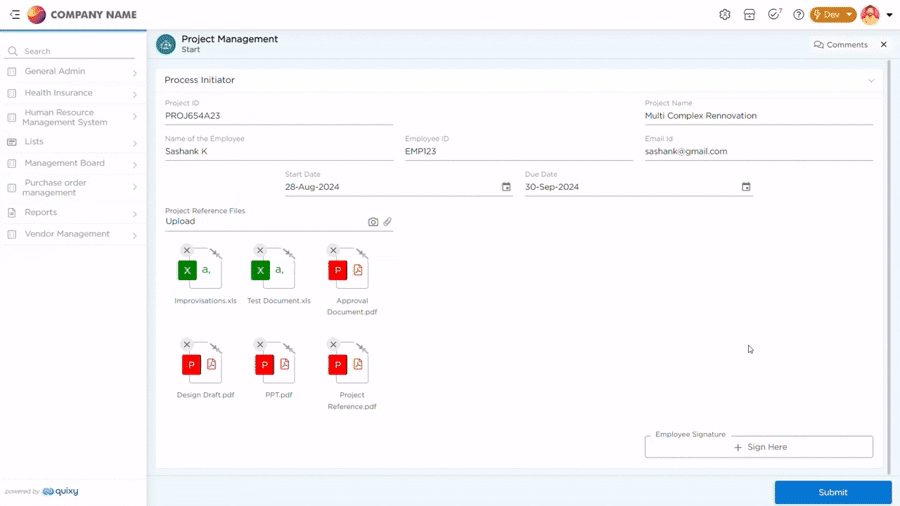
¶ 2. End-User Digital Signing Experience