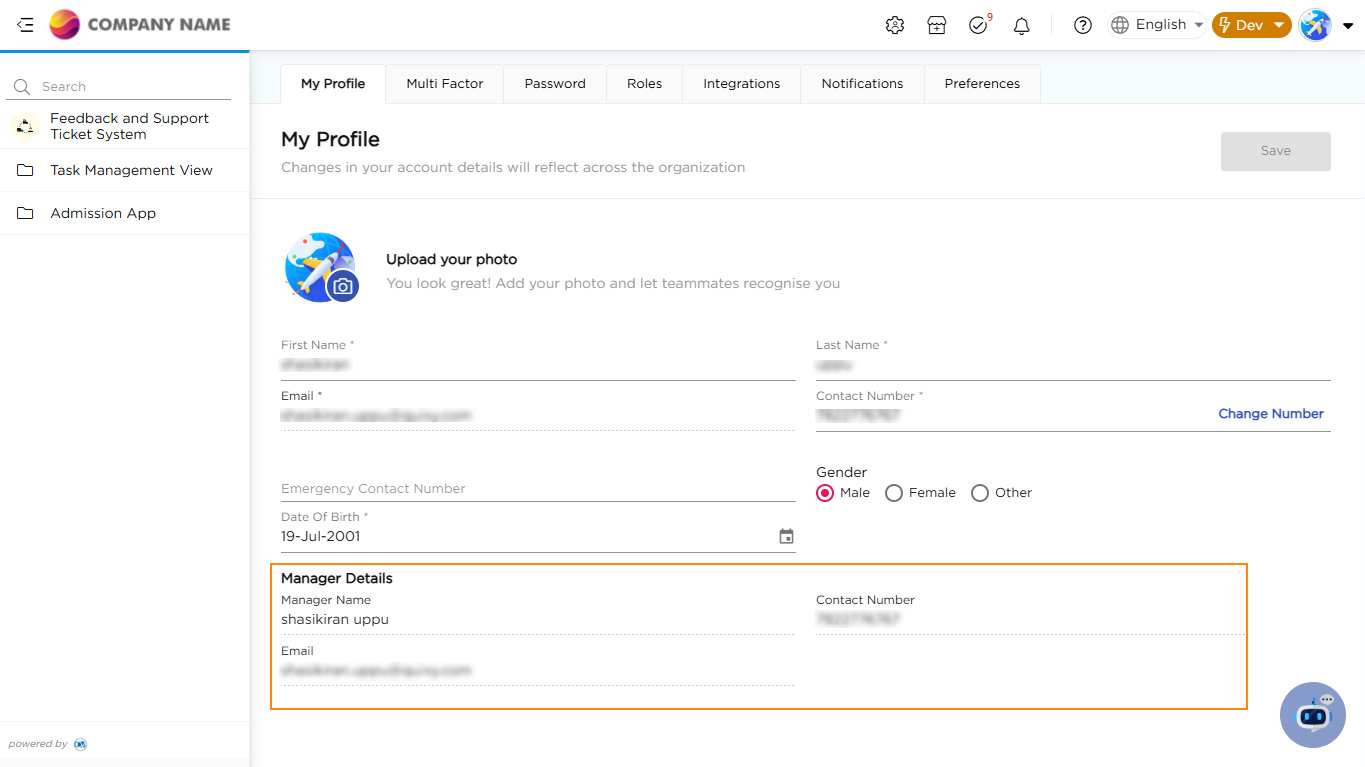
The My Profile tab displays your personal information, including your First Name, Last Name, Phone Number, Email Address, Gender, and Date of Birth. It also provides access to your manager's contact information.
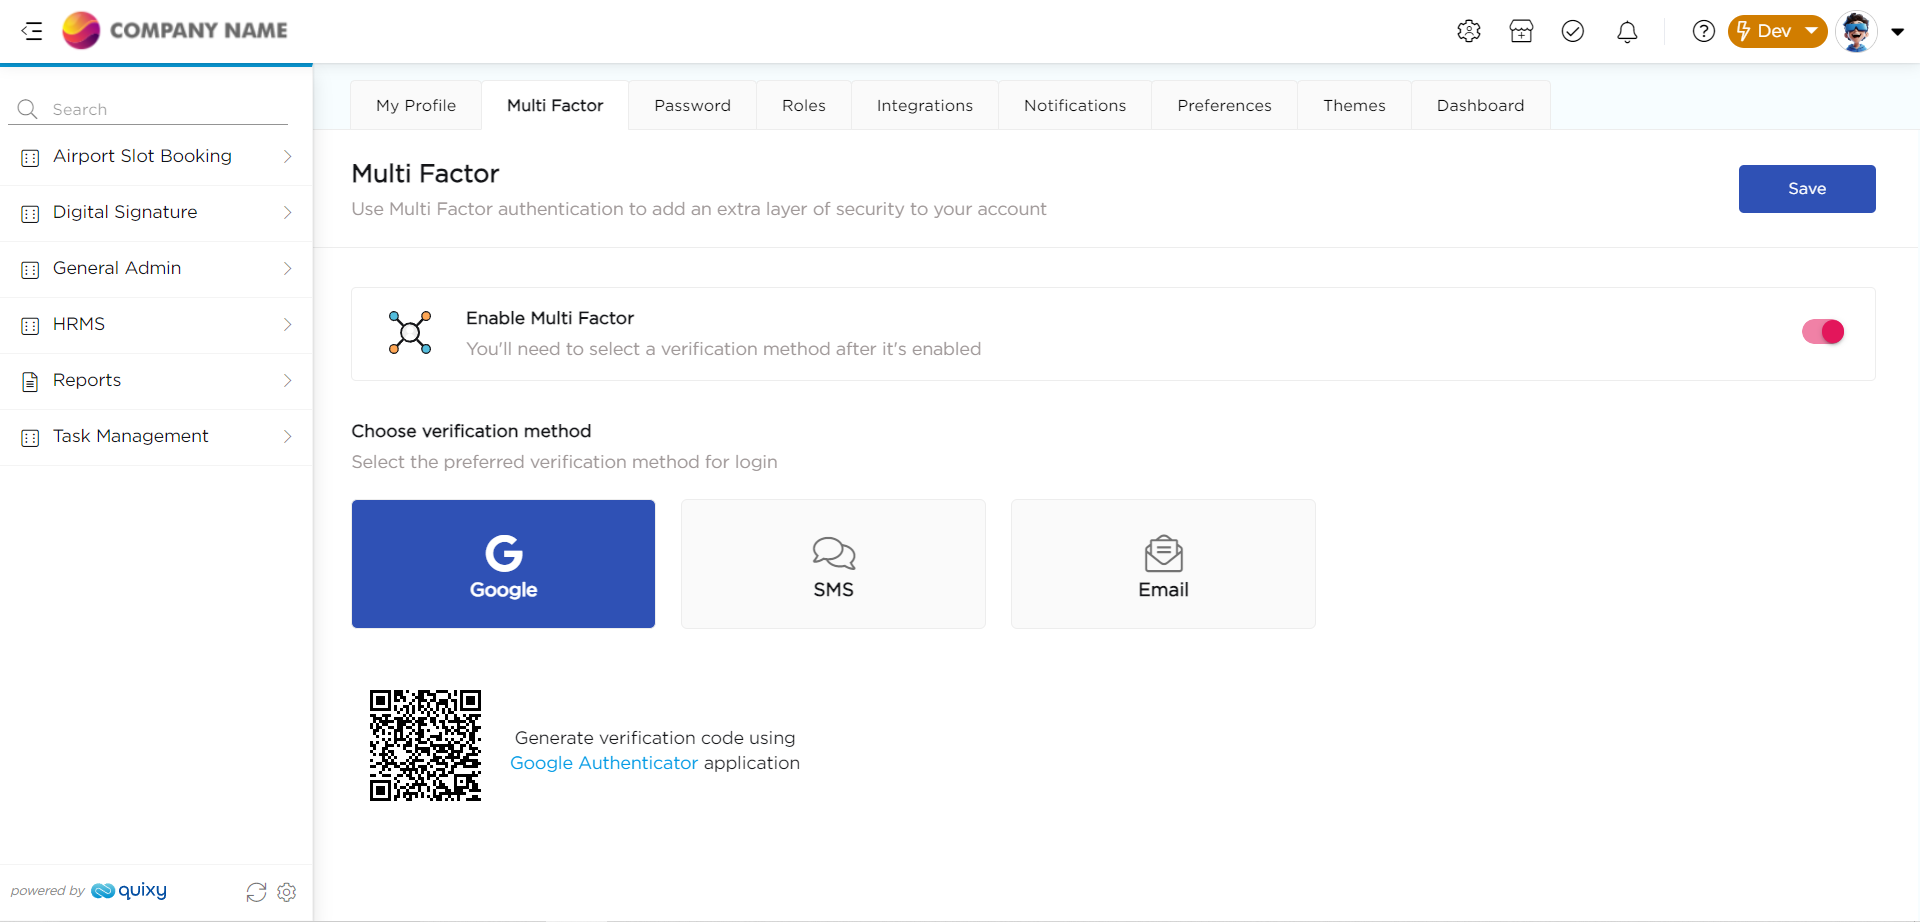
This sub-section enables users to enhance the security of their accounts by adding an extra layer of verification. Users can utilize multiple authentication factors to ensure secure access to their accounts.
¶ 2.1. To activate the Multi factor authentication:
Users need to enable the Multi Factor.
Users can select their preferred verification method from the three available options (Google Authenticator, SMS, and Email) based on their comfort and convenience. This allows them to choose the method that best suits their security needs and preferences.
If you choose Google Authenticator as your extra layer of verification, there is a process to establish it.
Click on the Google Authenticator link (Highlighted), as shown below, to download the app.
Open the Google Authenticator app and scan the QR code present in the multi factor page to connect the Google Authenticator with Quixy.
The Google Authenticator app will get connected with the Quixy server and generate a new verification code every 30 seconds.
The verification code can then be used when logging in to the Quixy platform.
Note
Google Authenticator is a mobile security application based on two-factor authentication (2FA) that helps to verify user identities before granting them access to websites and services.
External Integrations (App integrations) in Quixy are mainly used to establish a connection between the Quixy platform and 3rd party platform using application programming interface (APIs). Once connected, the app can request and share data freely with the other app.
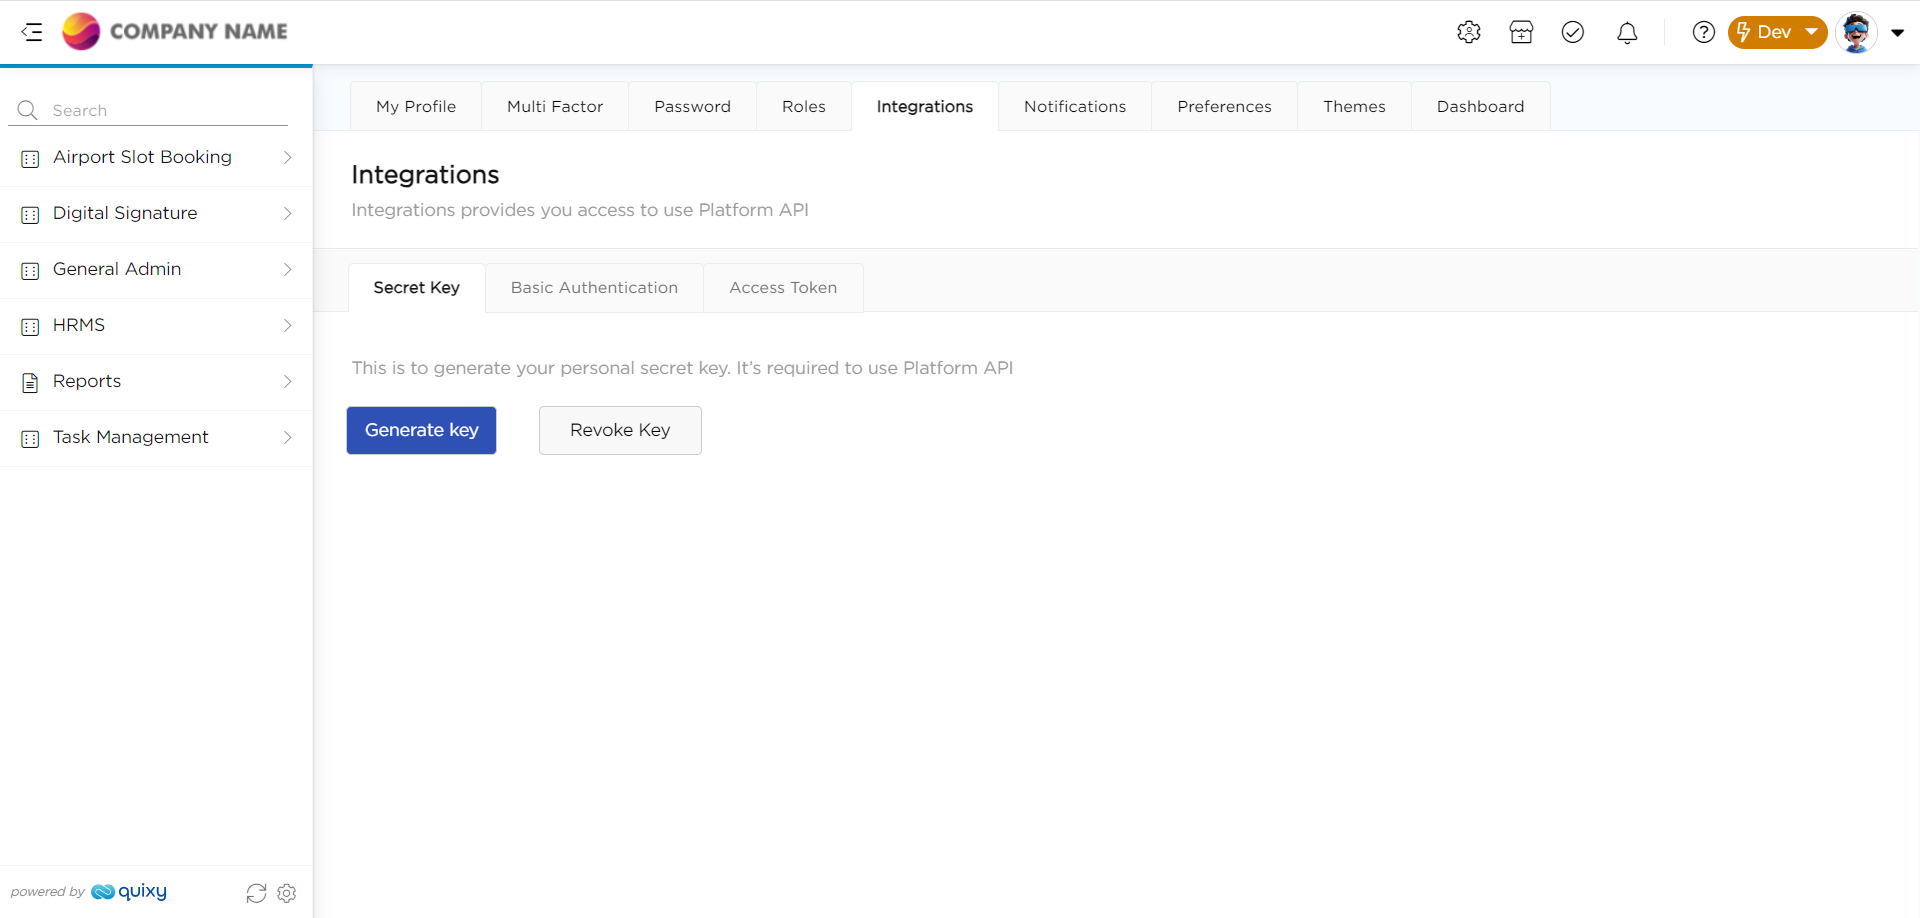
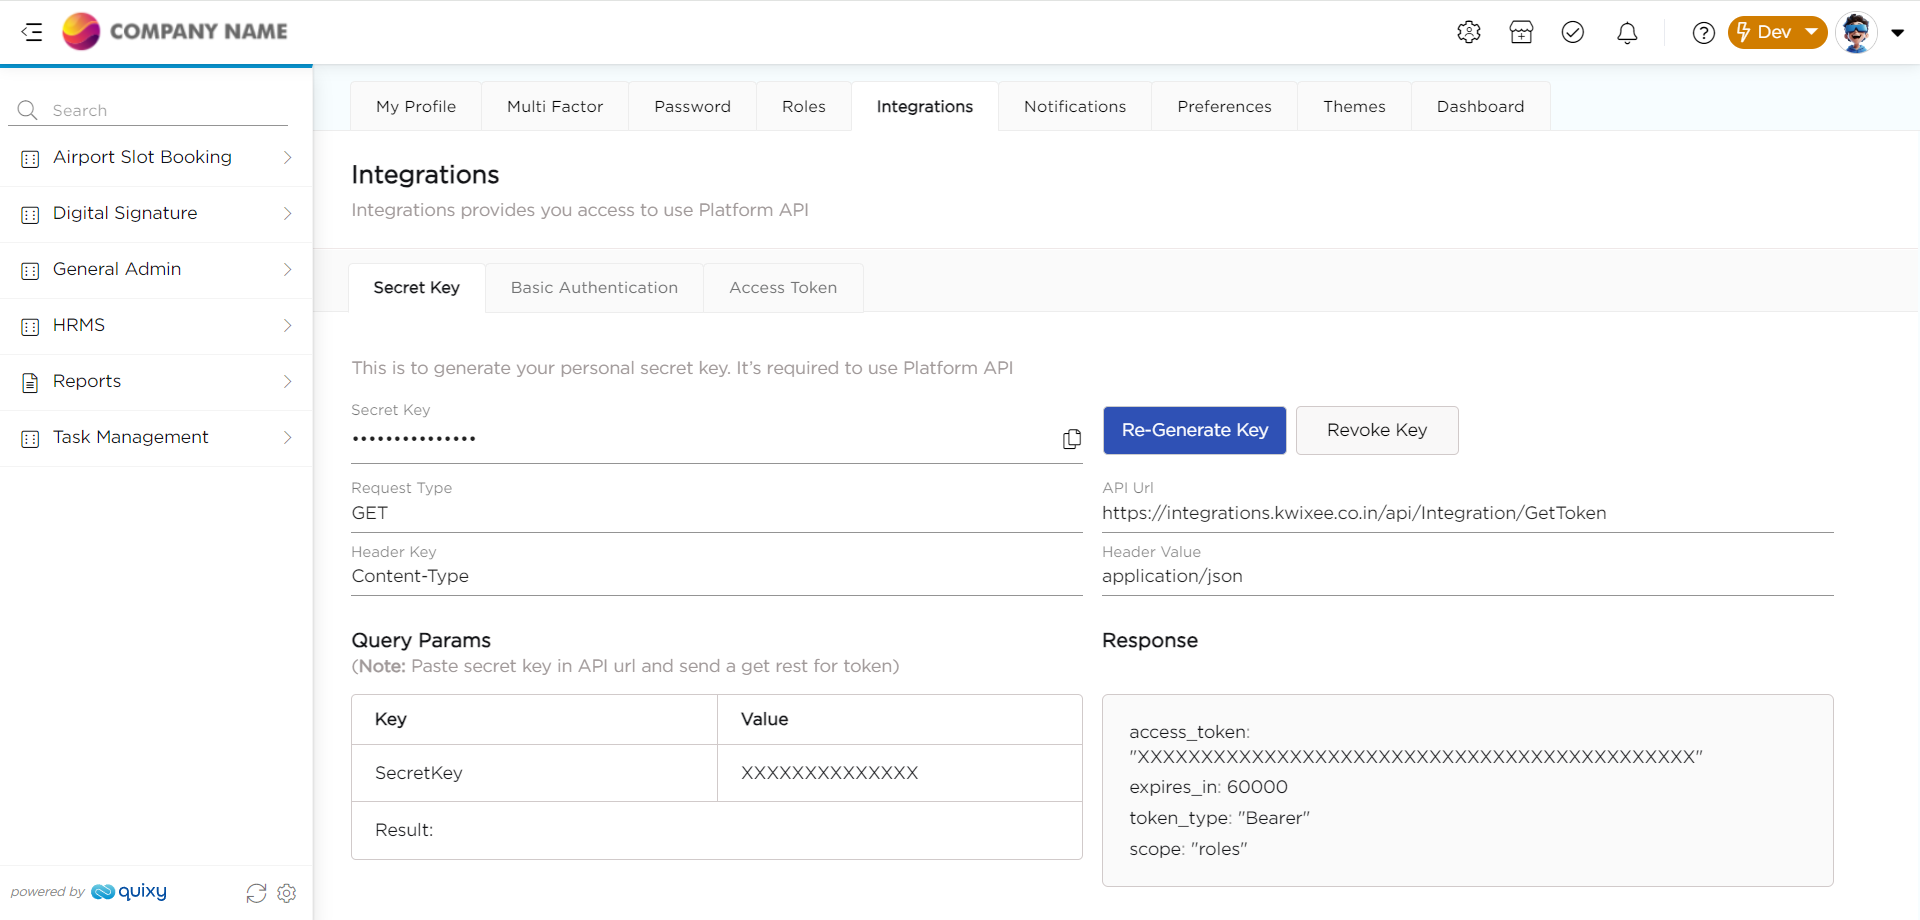
Secret Key plays a significant role in Quixy Integrations for both pushing and pulling data. It is the piece of information or parameter used to encrypt and decrypt messages symmetrically (uses only one key), or what we call secret-key encryption.
Generate Key: This feature helps you generate a key that you can use to connect external applications or programs. By generating this key and the API URL, passing it to the third party, you can establish a connection between the third party and Quixy.
Revoke Key: This feature helps you in case of a breach. By clicking on revoke key, you can end any established connection, ensuring security.
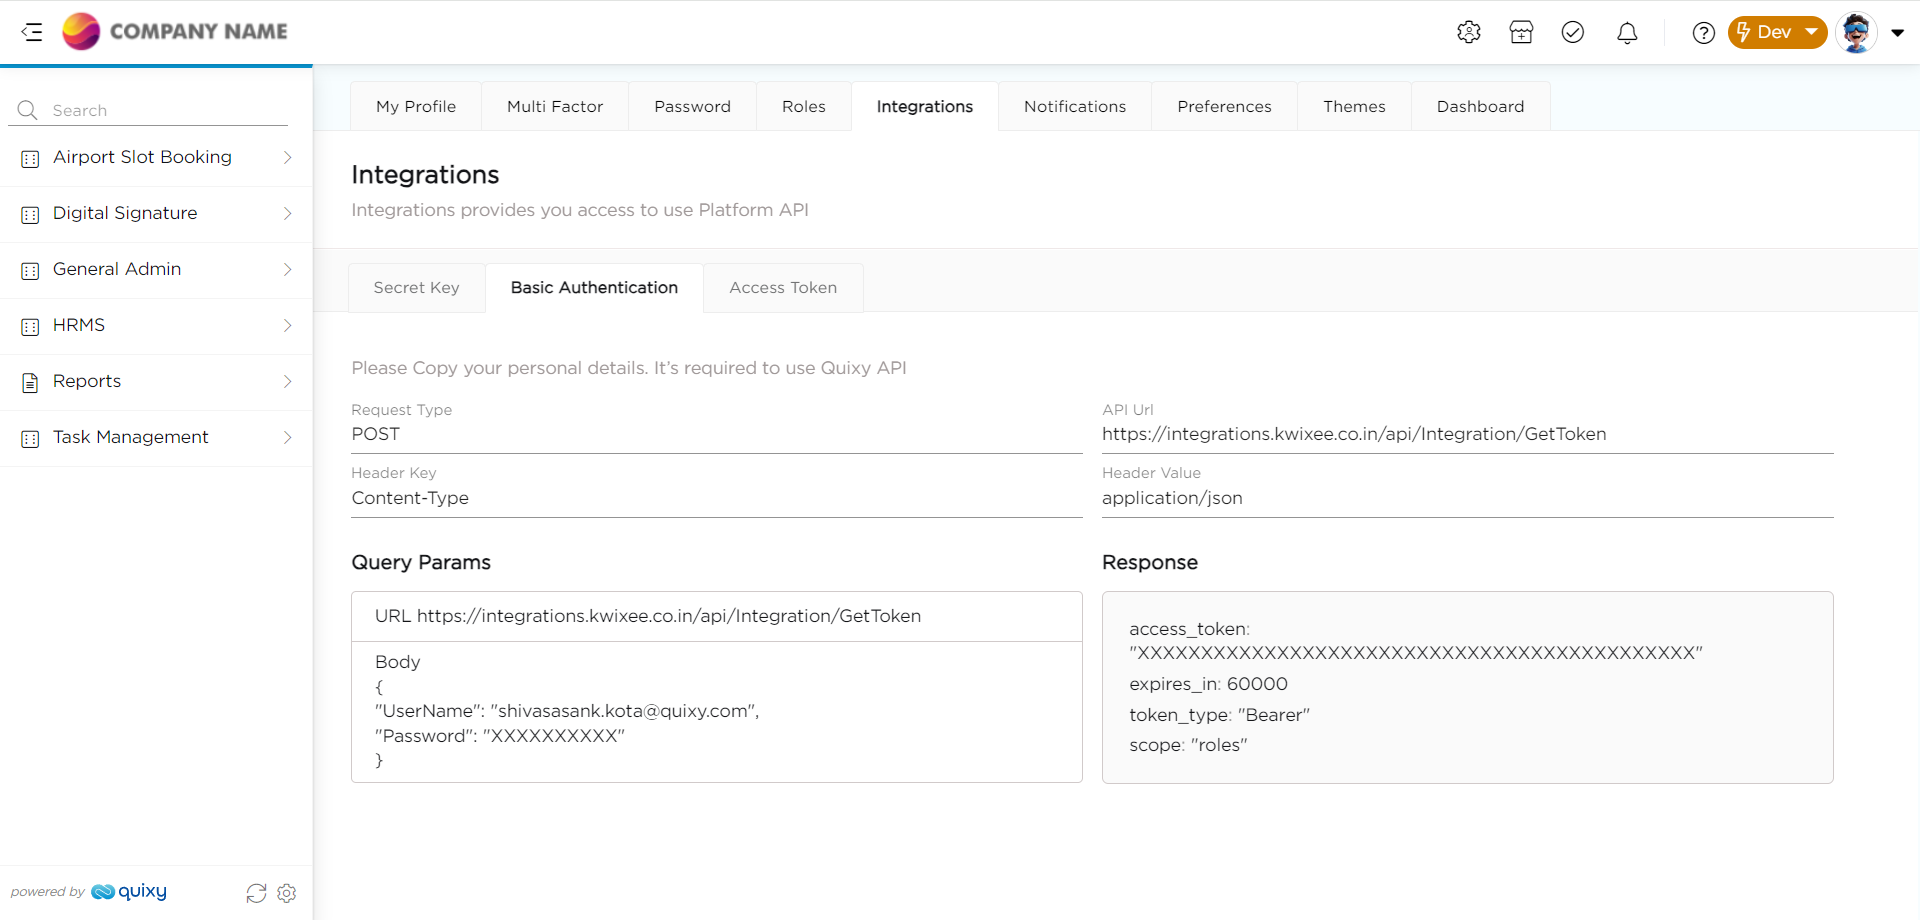
Basic Authentication is a simple authentication scheme built into the HTTP protocol. It is used to authenticate users requesting access to a web server or application.
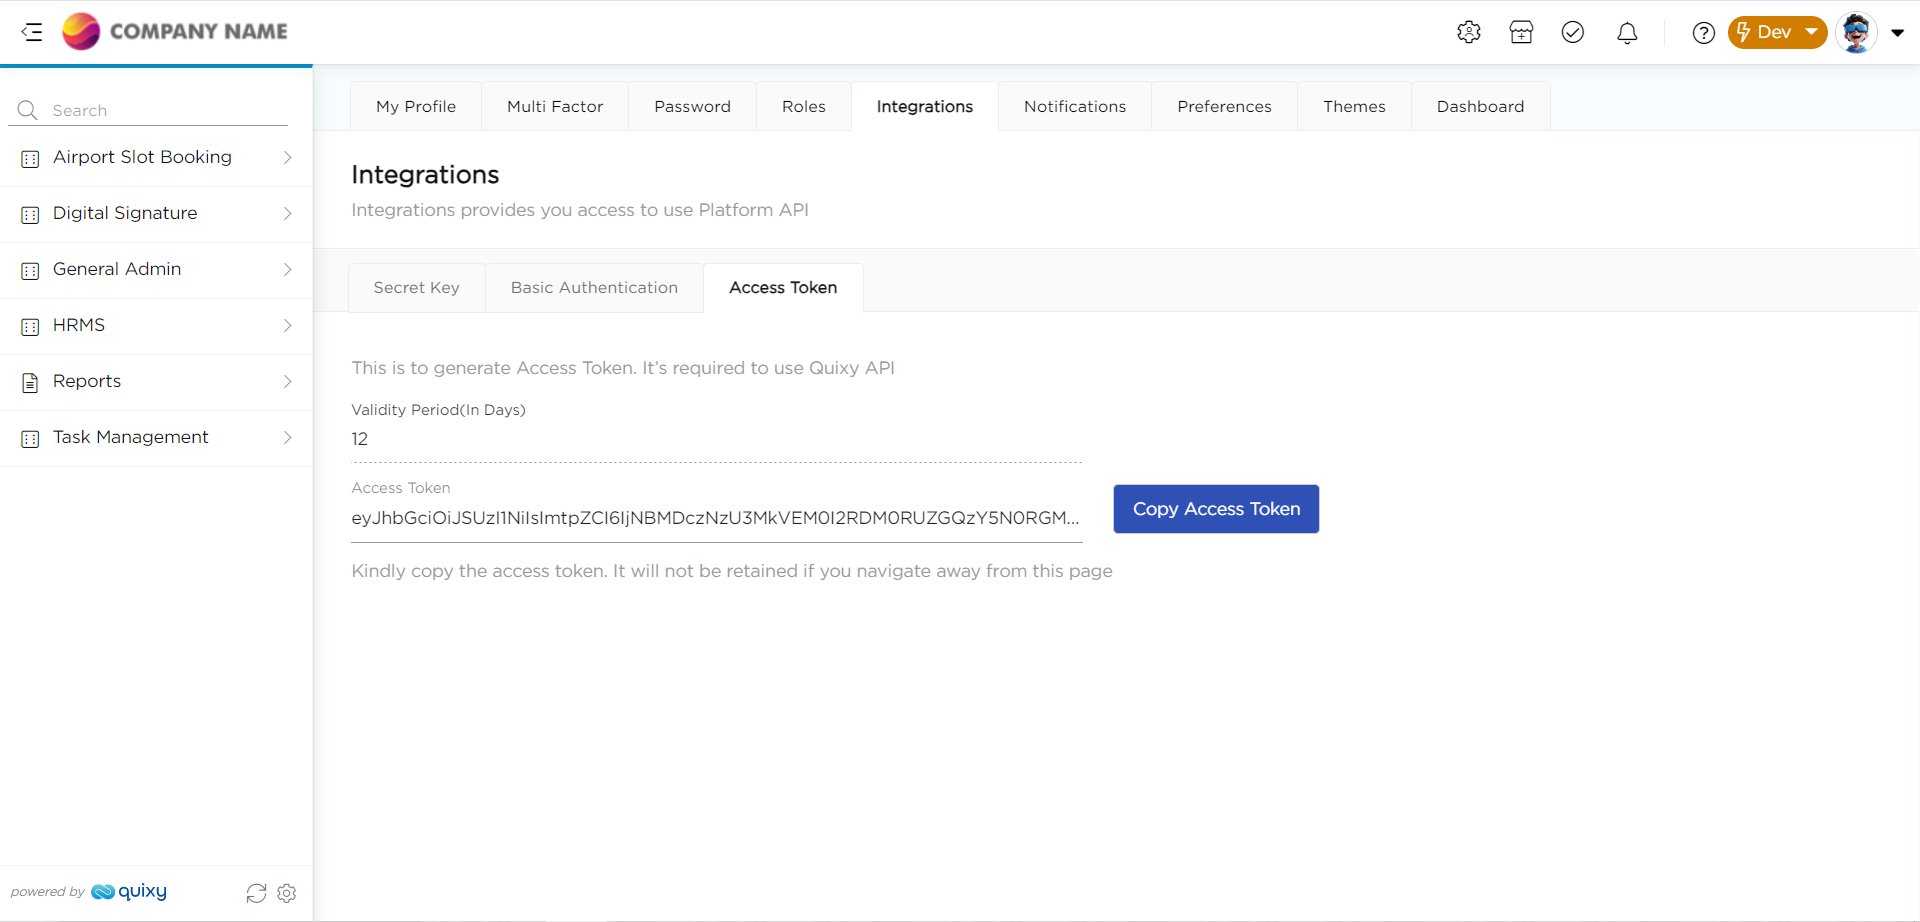
The access token serves as a key that allows a 3rd party or application to access and interact with Quixy's APIs on behalf of a user or application. The token has an initial validity period. After the specified number of days, the URL expires, which results in the connection expiring.
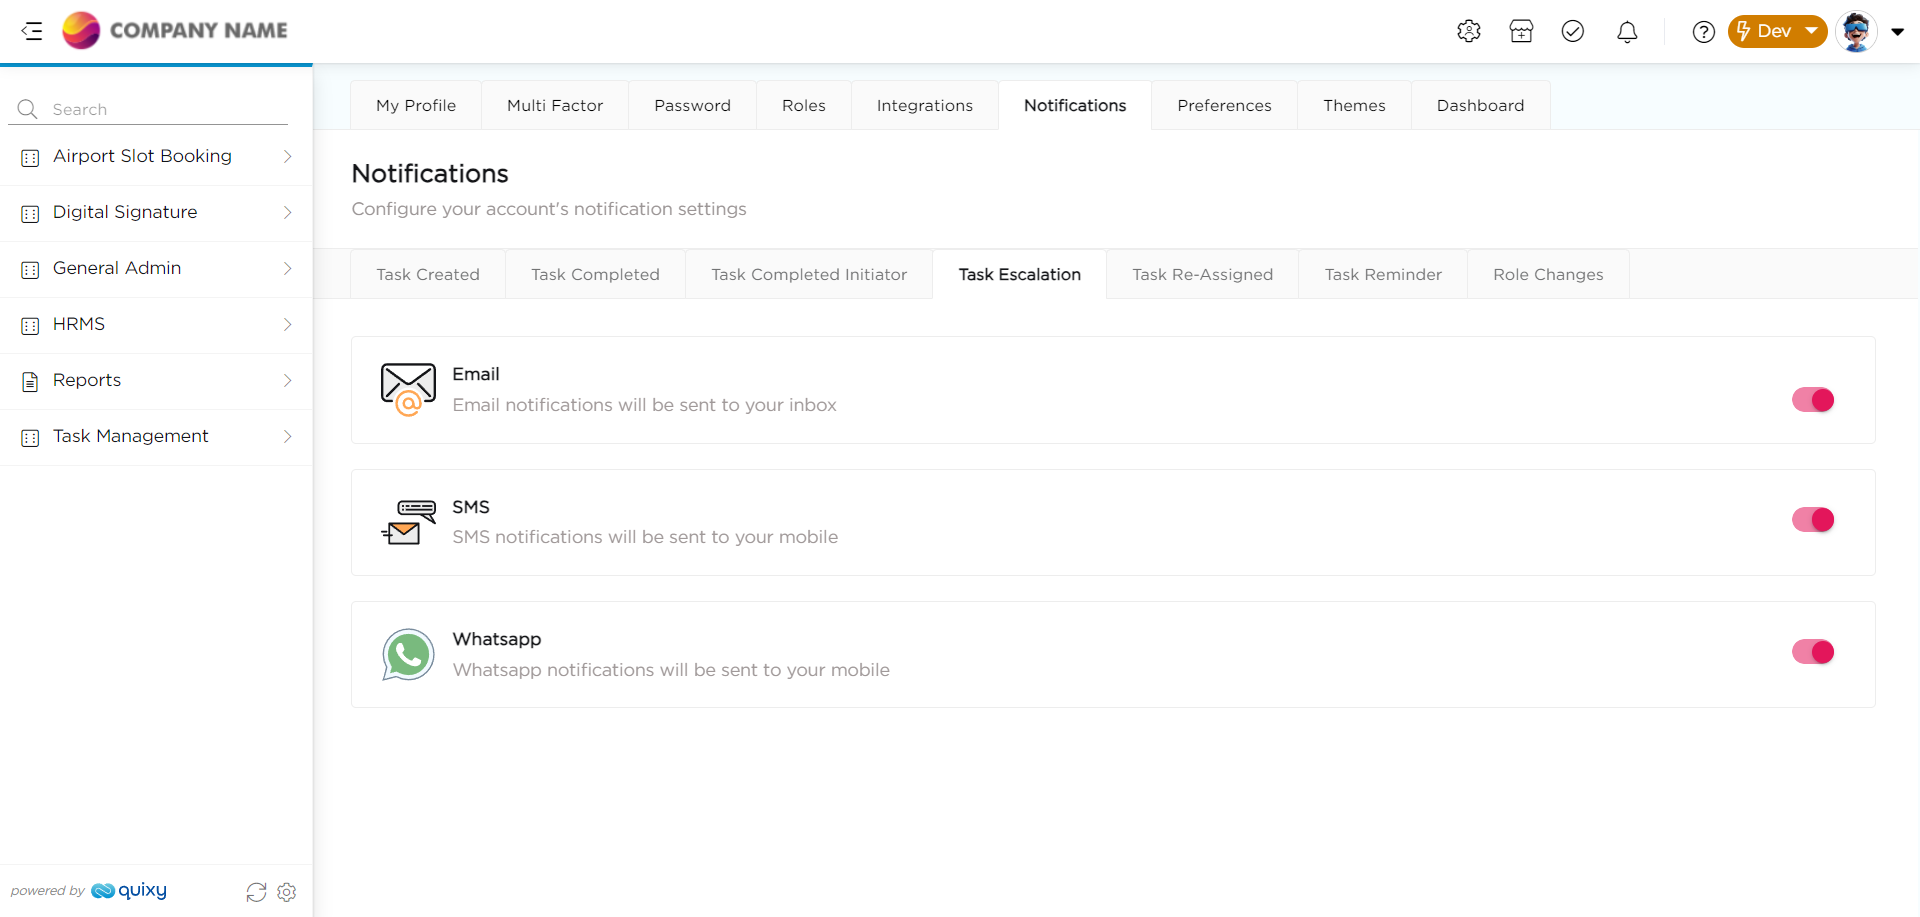
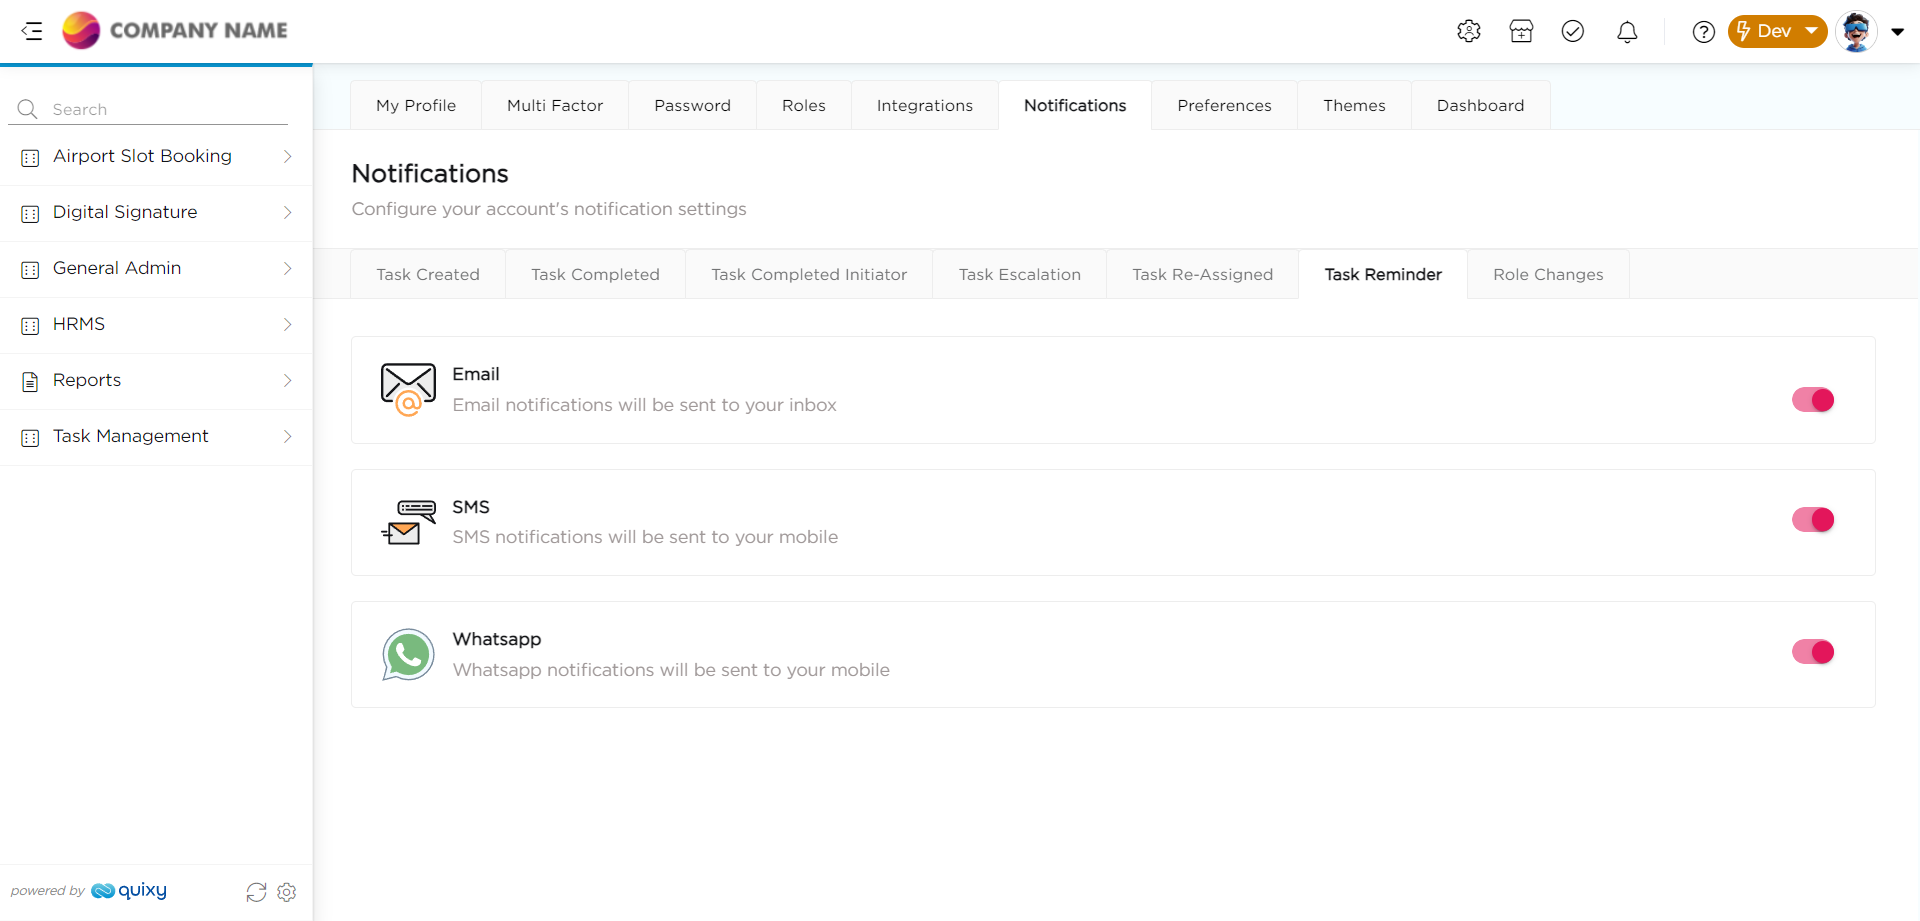
Within this subsection, logged-in users can customize their notification preferences. They can choose to enable or disable email and SMS notifications for various types of activities, which are listed below:
When a task is created for the logged-in user through a workflow or recurring tasks, an email and SMS notification will be sent to the user to keep them informed.
If a task assigned to the logged-in user is not completed within the specified time period by a team member, the user will receive an email and SMS notification to alert them about the delay.
When a task is assigned to the logged-in user, they will receive an email and SMS notification reminding them to complete the task within the specified time period.
Whenever a new role is assigned to the logged-in user or there are changes or removals of existing roles, an email and SMS notification will be sent to keep the user informed about these updates. An Email & SMS notification will be sent to the logged in user, when a new role is assigned, or the existing role is changed/removed.
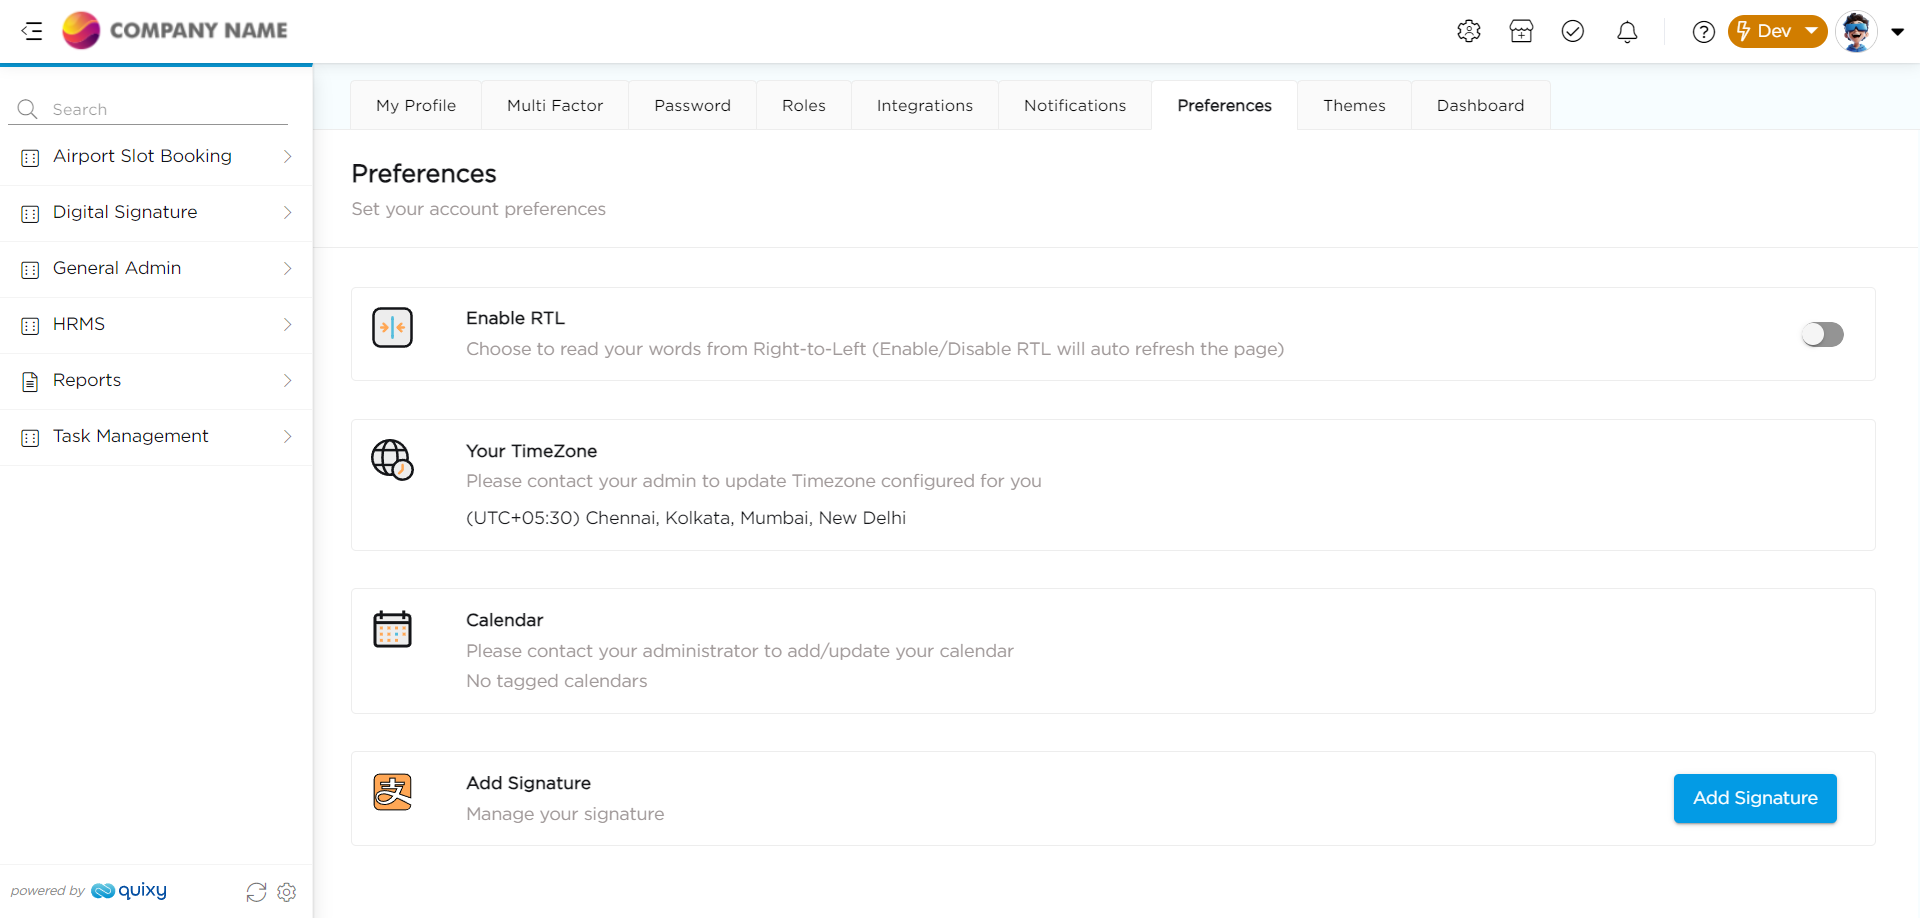
Within this sub-section, the logged-in user can access and modify their account preferences, including settings for Time Zone, RTL (Right-to-Left language support), Calendar, E-signature, and Manage Sessions.
Note
E-Signature: Users can add their e-signatures to their profile using three methods:
Draw Signature: Users can create their signature by drawing it directly on the platform.
Upload Signature: Alternatively, users can upload an image of their signature.
Text-to-Signature: Users can input text that will be automatically converted into a signature using the preferred font style.
Once added, this e-signature can be utilized in apps through the User Detail form field whenever a user's e-signature is needed, thereby reducing the possibility of signature errors.
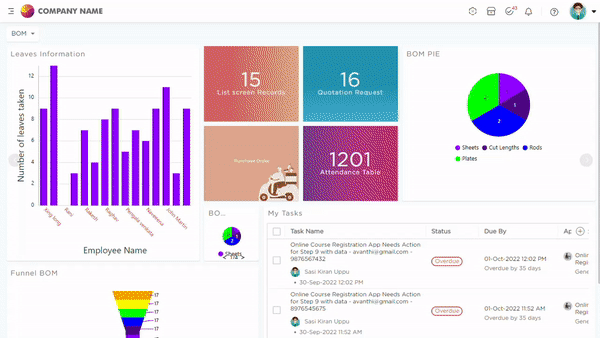
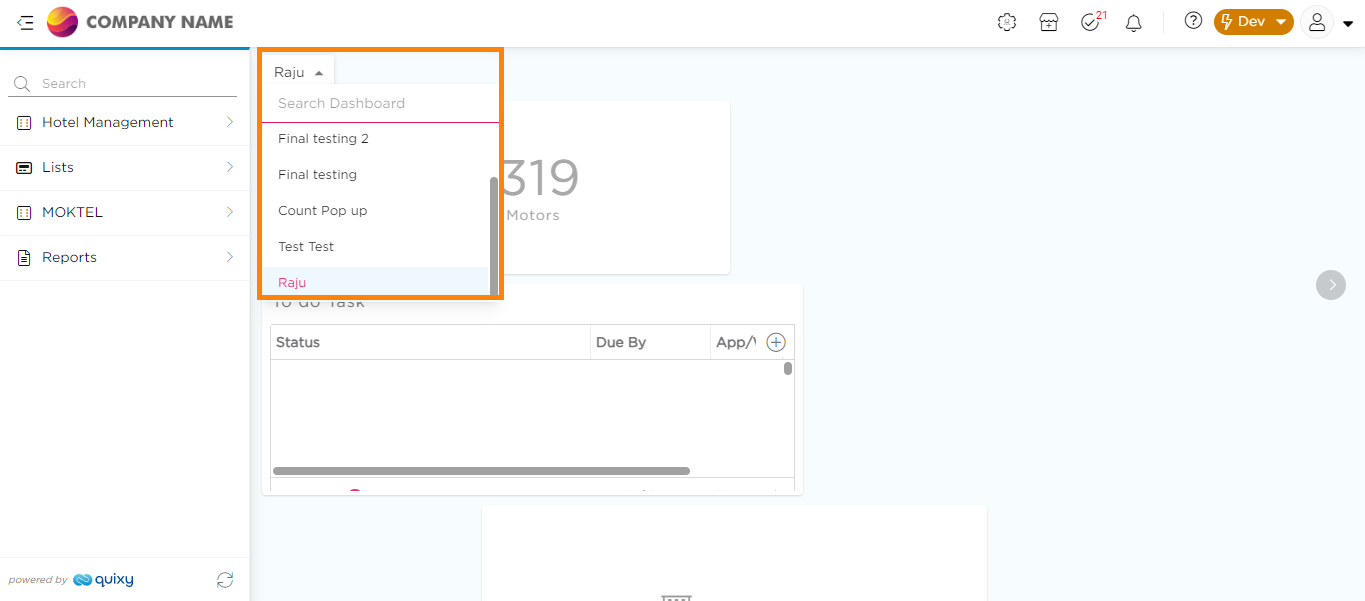
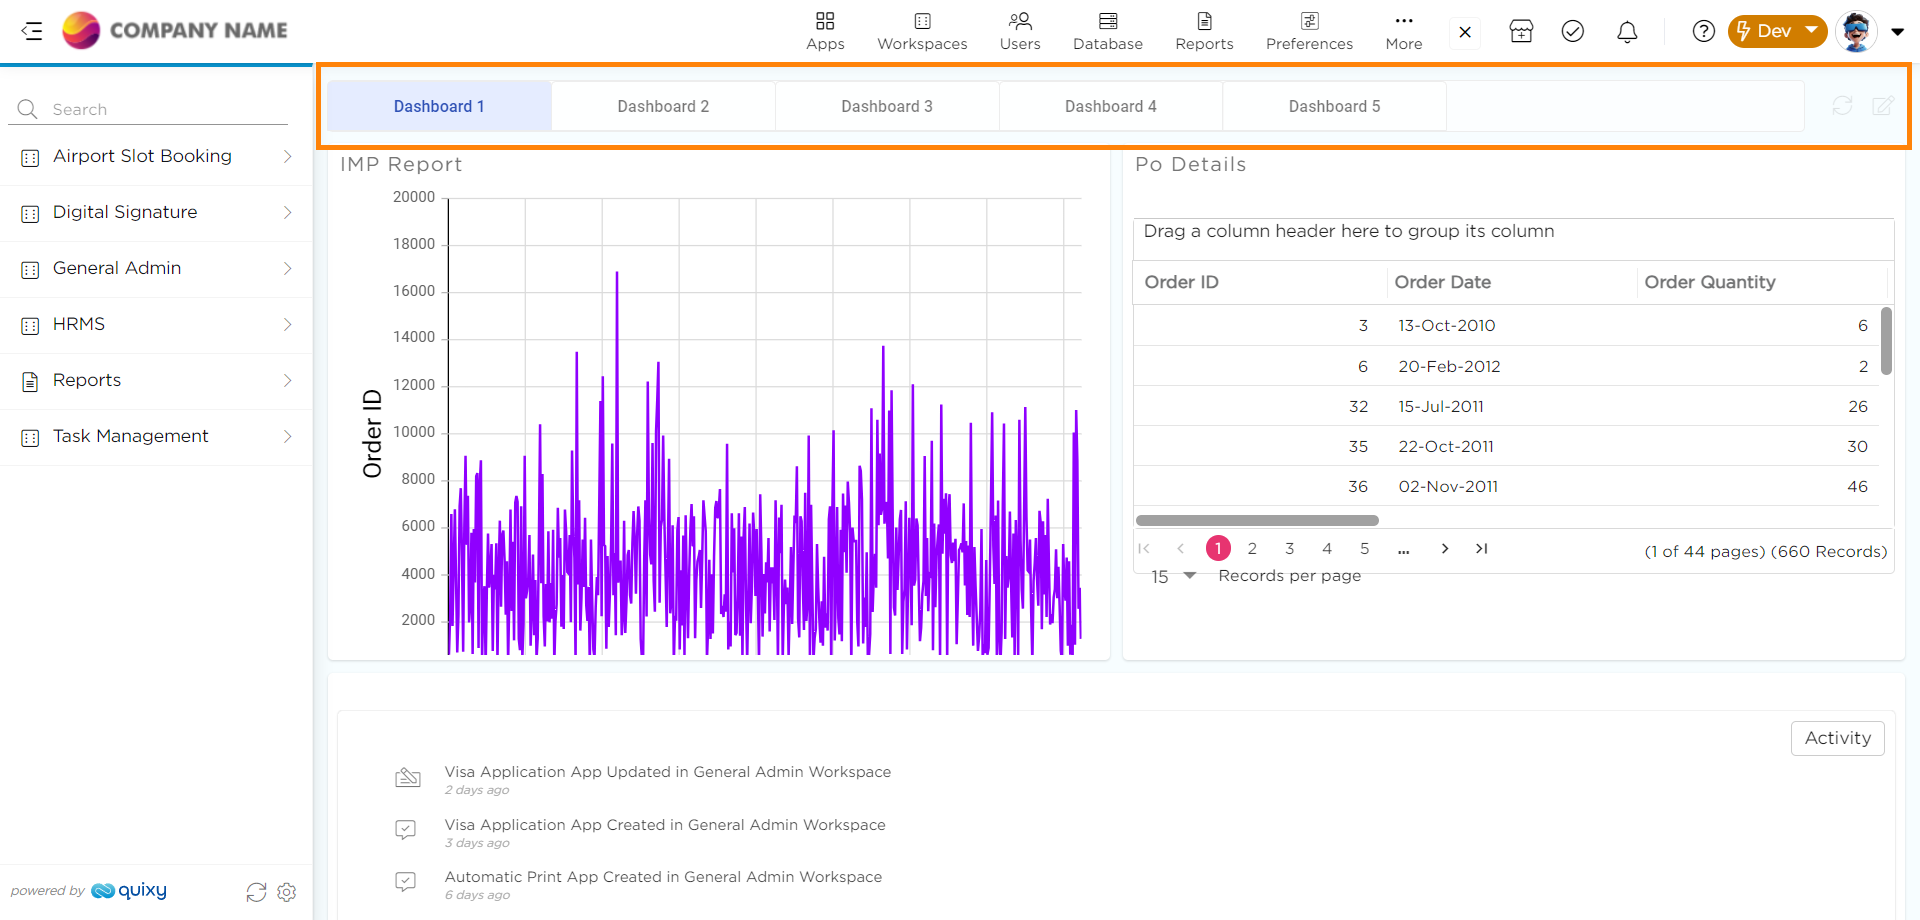
This feature allows you to select the layout of your dashboard list, choosing between standard view or tabs view. In the standard view, a drop-down list of dashboards is presented, and you can select one from the list. In the tabs view, dashboards are presented as tabs, making it more convenient to switch between them with just one click.