A configured workflow to connect two platforms is called Zap. Zapier platform allows you to connect any two or more platforms that are registered on Zapier by creating a simple workflow and pushing data from one platform to the other based on an event. Every Zap consists of a trigger step and one or more action steps. When you turn your Zap on, it will run the action steps every time the trigger occurs.
In Quixy, the Zapier platform will act as a bridge to establish a relationship between any 3rd party platform (like Outlook, Gmail, HubSpot, etc.) and Quixy to push data into Quixy apps without breaking a sweat.
Prerequisite
Integration Access is mandatory for any Quixy user who intends to perform integration on the Zapier platform. Only organization administrators can grant Integration Access to any user in Quixy. The Org. admins can provide access when creating a new user or editing the existing user's profile.
How to provide Integration Access to a user in Quixy?
While Creating a User:
Quixy user creation is something that many of us are familiar with. As shown in the screenshot below, administrators will have the option to enable Integration Access for the user at the end of the form that collects their details.

For Existing User:
Admins can grant Integration Access to an existing user by editing the user's details on the Users List page. They will then have access to the same form used to create the user in the first place. Refer to the screenshot below.

An individual user can verify the Integration Access they have received by logging into their Quixy account and navigating to My Profile, where they'll see a new Integration section for their profile, as shown below.

Use Case: (The rest of the article will be based on this one use-case.)
Integrate Microsoft Outlook and Quixy, and push data from Outlook into a Quixy app for every New Email received in Outlook. The data that needs to be passed is:
1. Email Subject
2. Email Received Date
3. Email body
You should always be clear on the requirements before establishing a connection:
- What platforms need to be integrated
- What data need to be pushed into Quixy
Creating an app in Quixy with all of the required fields is mandatory before establishing any connection.
The phrase "required fields" refers to the fact that you must build an app with necessary Text Boxes, Number fields, Date fields, etc., since you know what data will be delivered into the Quixy app.
Example: According to the Use case mentioned above, an app needs to be created in Quixy with 2 Text Boxes to capture the Email Subject & Email Body respectively, and a Date Field to capture the Email Received Date.
How to connect 3rd party platforms to Quixy using Zapier?
You need to follow three essential steps to establish a successful connection between a 3rd party platform and Quixy.
Step 1: Create an app in Quixy
According to the use-case mentioned above, create an app with 2 Textboxes and 1 Date field, as shown below.

- Please navigate the Publish step instead of configuring Workflow, Business Rules, and Access Permissions because it is a simple app. Check the Enable Webhook option on the publish page and publish the app.

Step 2: Create an account in Zapier
- Access https://zapier.com/ to land on the Zapier website.
- On the Zapier website, you will have an option on the right to Sign up and create an account, as shown below.
- Enter Work Email, First Name, Last Name and click Get Started Free

- Zapier's website will ask you to set a password for the account, Enter Password, and Signup.
- You will be redirected to Zapier's dashboard page, as shown below.
There are two different methods to create a Workflow (Zap) to connect 3rd party platform (In this case, Microsoft Outlook) and Quixy.
The most effective and instructive method is the one described in the following section.
Method 1: Dashboard-based creation
As explained at the beginning of this article and considering the Use Case, the Trigger Step will be Microsoft Outlook, and the Action Step will be Quixy.
Next, create a workflow to connect Microsoft Outlook and Quixy.
- On Zapier's Dashboard, navigate to the Create your own workflow section, as shown below.

- In Create your own workflow section, on the left, Connect this app..., is for Trigger (In this case, Microsoft Outlook) and With this one!, is for Action (In this case, Quixy)
- Search for Microsoft Outlook platform in Connect this app... search bar, as shown below.
.png)
- Search for Quixy platform in With this one! Search bar, as shown below.

- Zapier platform will display additional fields for configuring the condition based on which the Trigger platform (Microsoft Outlook) and Action platform (Quixy) will execute.
- Users can find the Trigger platform (Microsoft Outlook) events by searching in the When this happens... search box, as shown below. We shall select the New Email event based on the use case.

- Next, you can find all the events hosted by the Action platform (Quixy) by searching in the Then do this... search box, as shown below. We will select the Add Record event based on the use case.
- Click Try it, as shown below.

- Zapier platform will show you the guide to further steps. Read the steps carefully and click Get Started.

- First, the Zapier platform will connect with the Trigger platform (Microsoft Outlook). Click Next, as shown below.

- Wait for some time for the Zapier platform to connect with Trigger Platform (Microsoft Outlook) and ask you to select the Action platform (Quixy).
- Zapier platform will ask you to provide a Secret Key, as shown below.

- You might be wondering where you can locate the elusive Secret Key. If you recall, at the beginning of this article, we talked about a Prerequisite, namely, Integration Access.
- Once you have the integration access, go to My Profile --> Integration.

- In the Integration section, you will have an option to generate a Secret Key, as shown below.

- Next, copy the Secret Key, paste it in the Zapier and click Yes, Continue, as shown below.


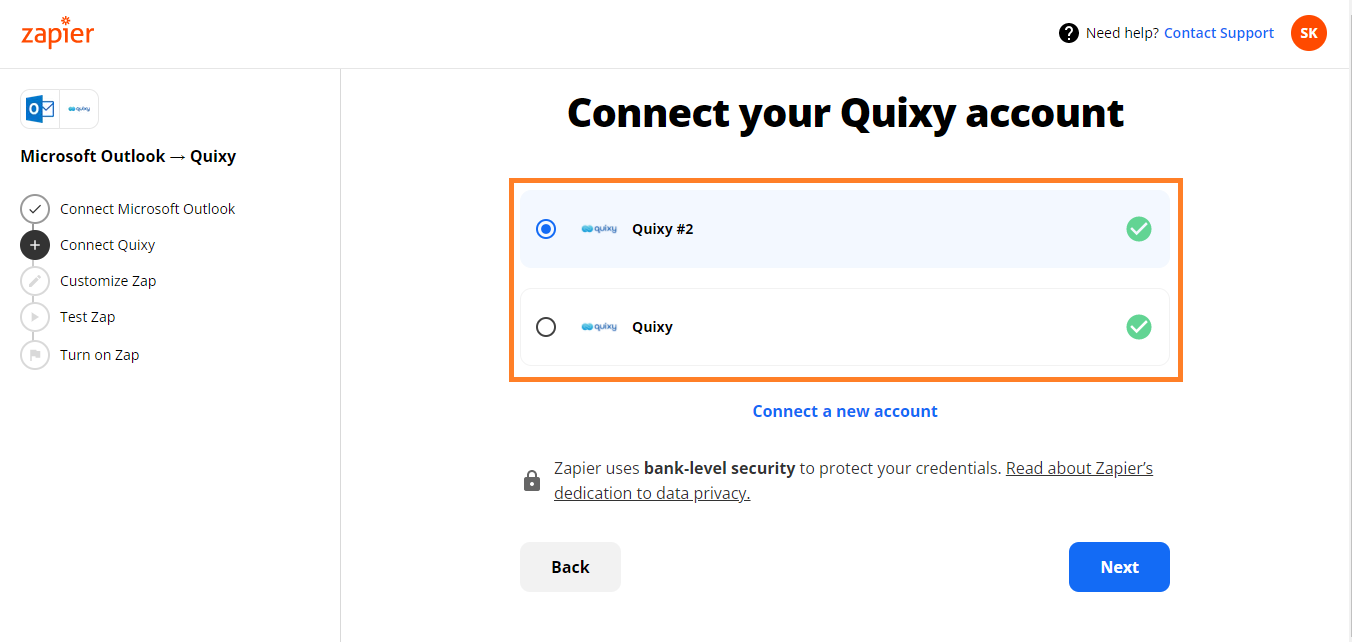
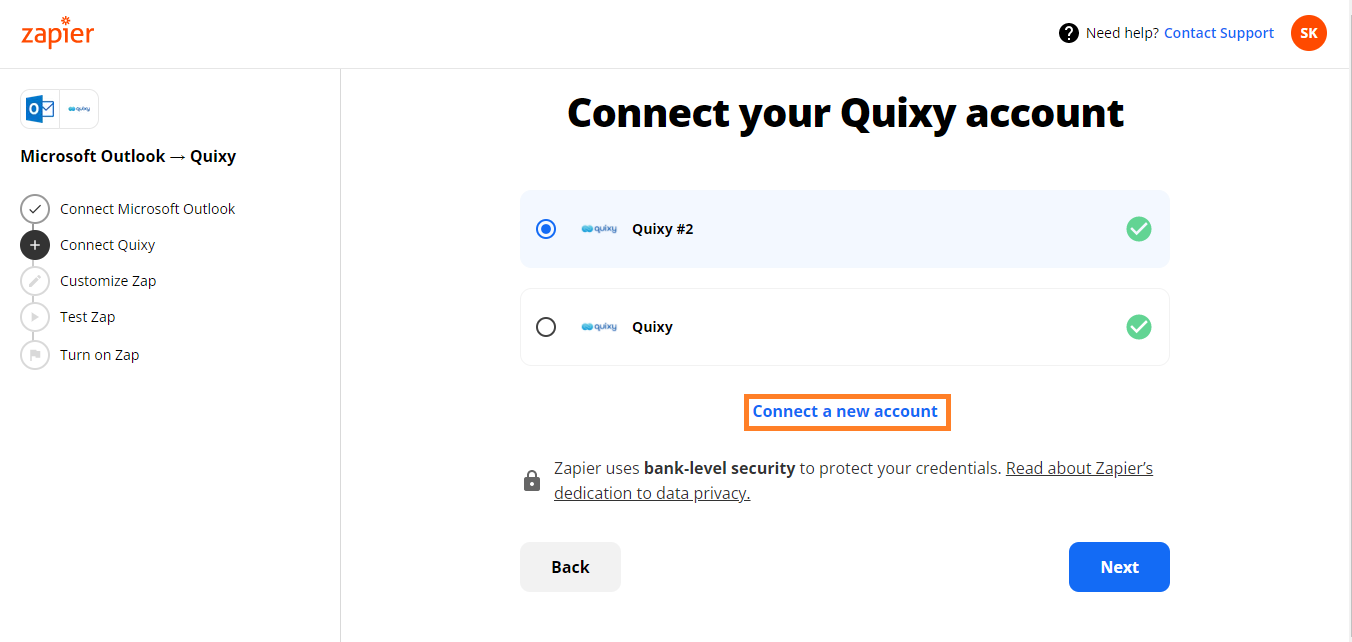
Sometimes, suppose an abrupt interruption occurs when you use an existing Quixy account. In that case, it is recommended to generate a new Secret Key to establish a new connection between Zapier and your account. To connect a new account, click Connect a new account, as shown in the image below.

- The app page is where Zapier will direct you once the connection between Quixy and Zapier is established. It will show you the list of all the apps in your Quixy account. Select the app you created to receive data from a third-party platform (in this case, Outlook) from the search results.
- Select the app and click Next.

- Next, the Zapier platform will display the data capturing fields of the Quixy app and ask you to map/connect them to the data fields of Microsoft Outlook. According to the use case, the fields are mapped, as shown in the screenshot below.
- Map the fields and click Next.

- Now, the Zapier platform will direct you to finally test the Zap (connection) before making it live or turning it ON, as shown below.
- Navigate to the bottom of the page and click Send Test. This process is to ensure all the established connections are in sync and working as expected.

If a 3rd party platform pushes the data from their platform into the Quixy app, it will store in the Quixy's database without any manual intervention.
The Quixy platform will record the data coming from the 3rd party platform in a data table if you have created and linked a data table for the Quixy app. Otherwise, you can find the data in My Profile --> My Activities --> Initiated as app data- Once the testing is completed, the test record can be seen in My Profile --> My Activities --> Initiated as app data.
- So, go to My Profile --> My Activities --> Initiated, select the Workspace and App. Quixy platform will fetch all the records. Refer to the image below.

- Now, if you wish to see data inside a record, click
 corresponding against each record. The record's data will be fetched as shown below.

If you cannot see any records associated with the app, there is likely a problem with the connection; please re-examine your Zapier workflow configurations.
In the best interest, it is advised to create a new workflow from scratch.
- Once the test is completed, you find the record in the My Profile --> My Activities --> Initiated.
- Click Next and Turn On the Zap.

- Zapier platform will take some time to activate the Zap.
- You will find the newly created Zap in Zaps Section, as shown below.

.png)


 corresponding against each record. The record's data will be fetched as shown below.


