.png)
Advance Sandbox
- 4 Minutes to read
- Contributors


Advance Sandbox
- 4 Minutes to read
- Contributors
Article summary
Did you find this summary helpful?
Thank you for your feedback!
NOTE
Before proceeding to read the Advance Sandbox article. It is advised to read the Basic Sandbox article to understand the basics of sandbox functionalities.
In the advance sandbox, we have four stages, i.e., Dev (development), QA (quality testing), UAT (user acceptance testing), and Production (live). All users, i.e., Organization Admin, Workspace Admin, and End-Users, will have access to the live environments.
Development (Dev): Your creative haven! Develop and automate solutions with confidence.
Quality Assurance (QA): Test your creations with dummy data, ensuring they stand up to scrutiny.
User Acceptance Testing (UAT): Real users, real data. Let the real users (end-users) test your solutions in an environment that mimics the live stage.
Live: The grand stage! Roll out your solutions for actual usage, real transactions, and live interactions.

While the organization admin will have access to all the four stages and can easily switch between the stages as required. The workspace admin will have access to the Dev stage and Live stage by default; access to QA and UAT stages depends on whether the workspace admin has permissions to access QA or UAT for testing purposes. If the workspace admin does not have permission to test artifacts or solutions in QA or UAT, either, they can ask for permissions or test the artifacts in the Dev stage itself. Either way, workspace admins can always test their creations.
End-users (non-citizen developers) will have access to Live stage by default to make real-time transactions and interactions. However, if they are given with the permission to access QA or UAT for testing, the end-users can become testers to test the created or modified artifacts or solutions.
How does Advanced Sandbox work?
The below image represents the working model of the Advanced sandbox. Please zoom in to the below image for clarity.

Any user login into the platform will land on the live environment as shown in the GIF Below.
The Organization Admin or Workspace Admin must switch to the Dev environment to start developing the solution that requires creating artifacts.

Now, in the Dev stage, creating artifacts is same as old times.
Go to Admin Menu, create workspaces, roles, users, applications, data tables, data sources, reports, and establish app-data table relations, etc. Configuring the account Preferences, and other aspects in different stages is explained later in the article.
Once the artifact creation part is complete, respective citizen developer can test the artifacts or solution in the Dev environment itself to understand their functioning credibility before deploying it to the QA stage for actual testing.
In Sandbox, since all the artifacts doesn't move to the Production (Live) stage instantly after creating them, they get parked in a space called Branches till the solution/artifact is deployed to the next stage, i.e., QA or UAT for testing or Live for real-time usage.
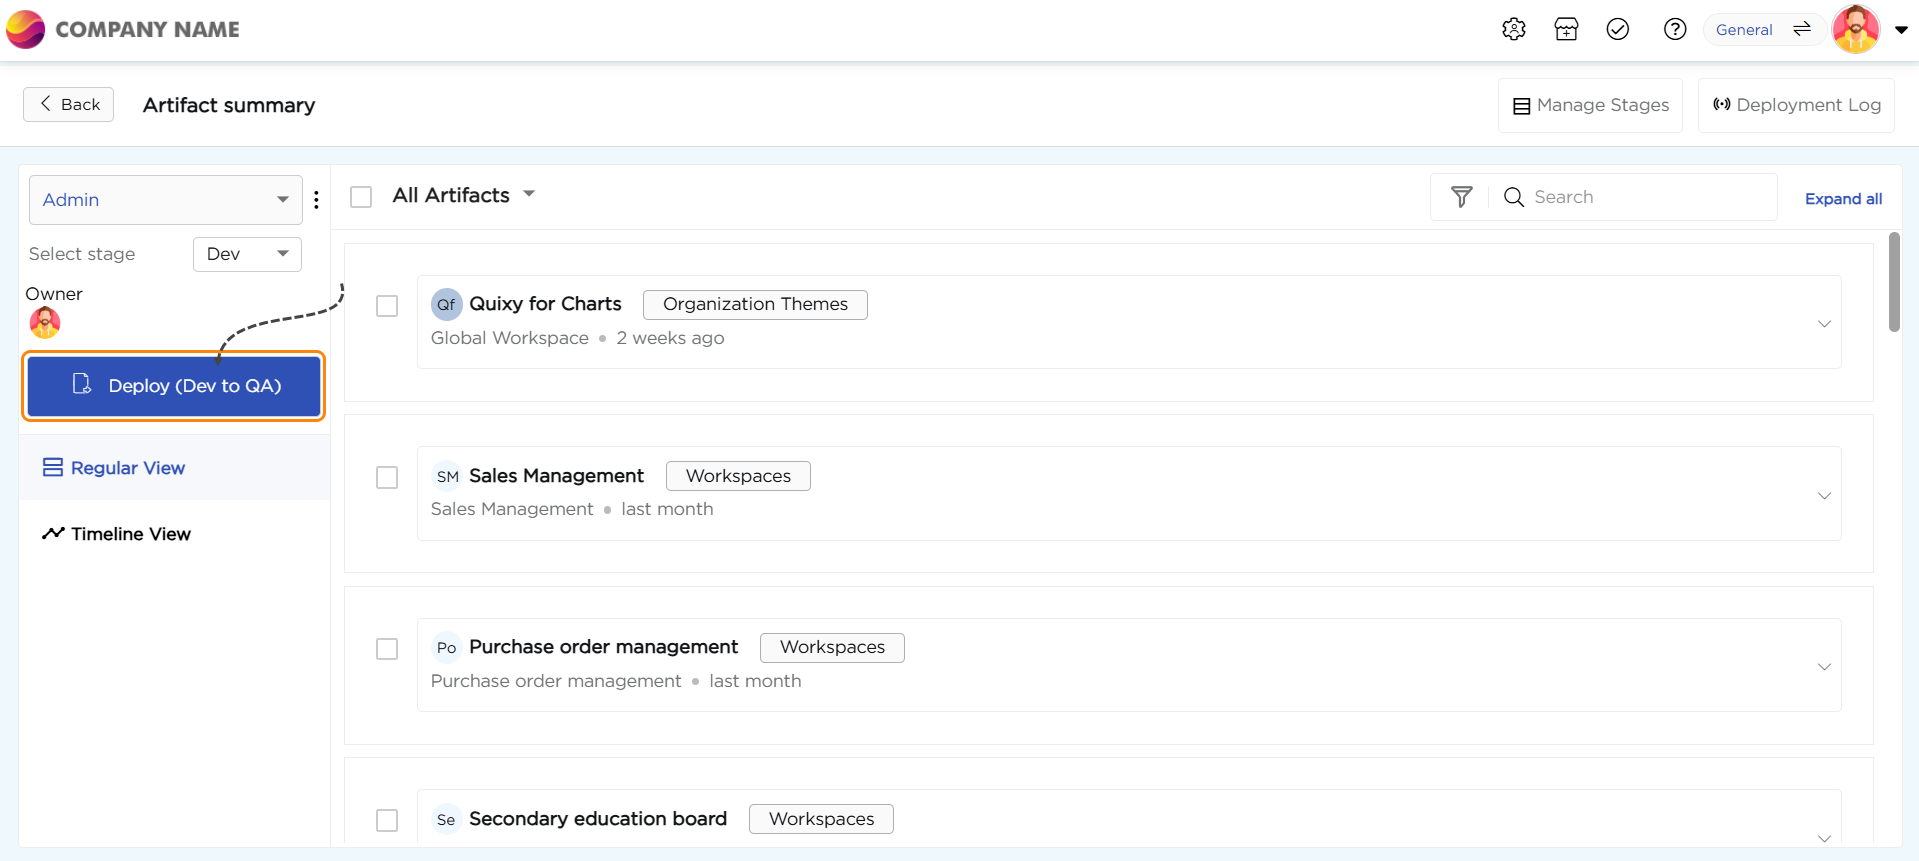
Branches hold all the newly created artifacts and modifications made to any existing artifacts till published to the next stage. In other words, we can say that branches will hold the artifacts and can be called artifacts summary page.
Advanced Sandbox gets a default General branch where all the newly created or modified artifacts gets parked.
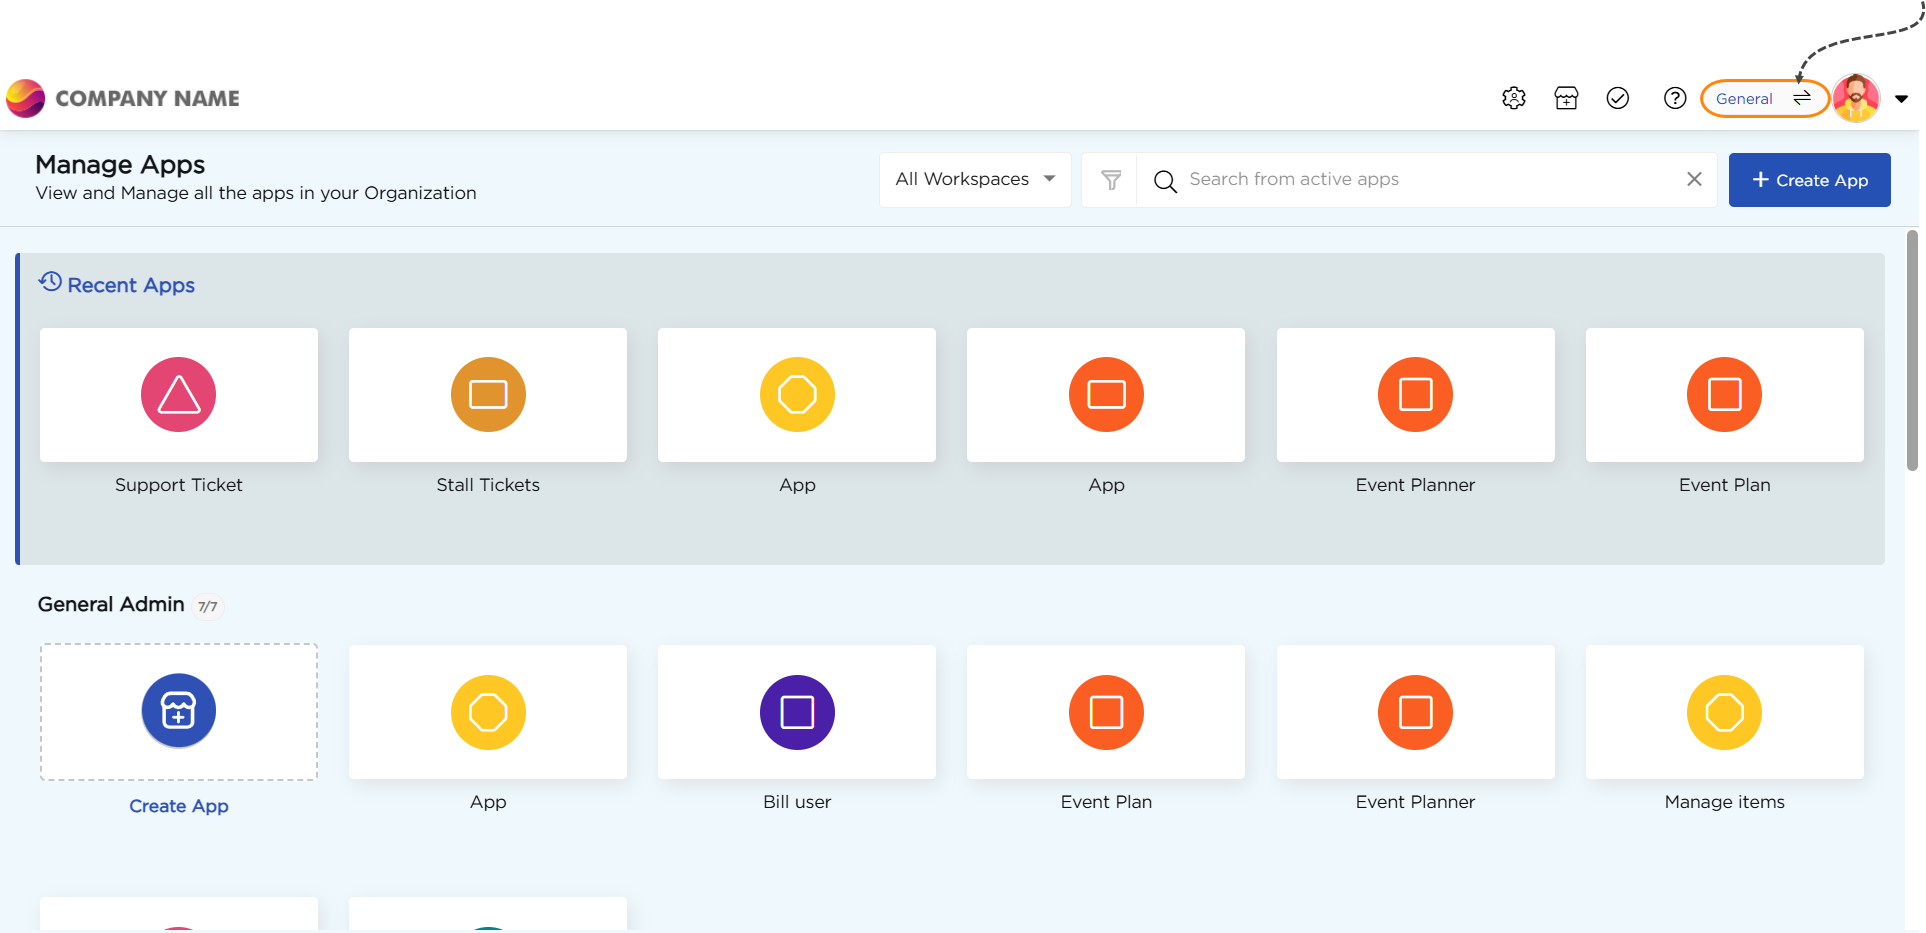
You can navigate to the General branch from any respective artifact's list page such as Apps, Data tables, Data sources, DS-Reports, DS-References, DS-Views, App Events, Lookups, Dashboards, Custom Menu, Preferences, Workspaces, Users, etc to deploy the created or modified artifacts.
For example, navigate to the Manage Apps page or Data table list page; in the top right corner to the left of the Profile Picture, you will find the option to navigate to the General branch.
In Advance Sandbox, citizen developers (Organization Admin or Workspace Admin) can create their own branches in addition to the General Branch to park their artifact creations or modifications. Learn more about branches...


Note
Only Org. admins handle artifacts such as Custom Menu, Public Dashboards, Organization Themes, Roles, and Workspaces. When these are created or modified, they go into a special branch called Admin, not in any general/regular branch. This prevents access by other citizen developers like workspace admins, making sure these items stay exclusive to Organization Admins. The Admin branch is automatically generated whenever there is management activity related to the specified artifacts.
Once the artifacts are moved to QA stage, the citizen developer who created the artifacts or solution can test it all by himself/herself or even ask peer developers to test the artifacts or solution to understand their functioning credibility before deploying the artifacts or solution to the UAT stage.
Note
Testing in QA is not just limited to the citizen developers. If provided with right access to QA stage, any user (non-citizen developer) can perform testing in QA.
Now in UAT stage, either citizen developer or an end-user with access to UAT stage can test the artifacts or solutions.
Note
Since the UAT stage mimics the Live stage. It is advised that the end-users do the testing in UAT and provide a feedback of the artifacts/solutions functioning credibility before deploying the artifacts or solution to the Live stage.
Once the artifacts are tested and refined in QA and UAT, the artifacts or solution can be deployed to Live stage for real-time usage.
In Live stage, end-users can use the artifacts or solutions to perform real-time transactions or interactions.
Was this article helpful?
