Deactivating a user removes their access to the platform while ensuring that ongoing work is not disrupted. Before deactivation, you must reassign the user’s responsibilities.
¶ 1. Steps for User Deactivation
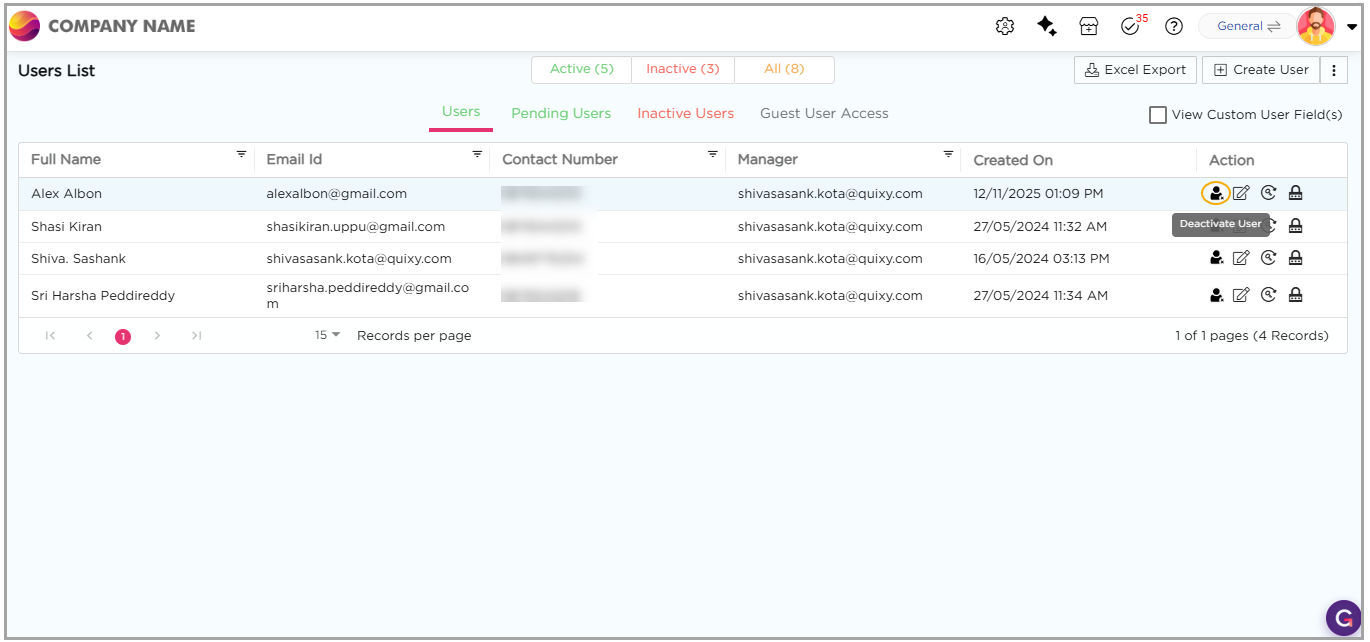
1. Go to Admin Menu → Users → Users.

2. From the Users List, locate the required user.
3. Click the Deactivate icon in the Action column.
4. The User Deactivation page opens.
On the User Deactivation page, reassign the user’s responsibilities as shown below:
| Section | User Action | Result |
| Swap User | Choose a replacement user | Transfers all responsibilities from the deactivated user to selected user. |
| Branch/s List | Reassign branches | Moves branch ownership from the deactivated user to the selected user. |
| Stage Selection | Choose a stage such as Dev or Live | Decides whether the role and task changes apply in Dev or Live stage. |
| Role/s List | Assign roles to a user | Gives the selected user the workspace roles of that stage. |
| Task/s List | Reassign tasks | Transfers pending tasks from the deactivated user to the selected user. |
| Manager List | Change Manager | Updates the reporting manager for the selected user. |
| Workflow Group List | Review workflow groups | Ensures workflow routing and assignments continue without disruption. |
| Workflow Group – Notification List | Review notification groups | Ensures notification routing continues correctly. |
| Workflow Group – Escalation List | Review escalation groups | Ensures escalation routing continues correctly. |