- Go to Admin Menu → Database → Create Data Table.
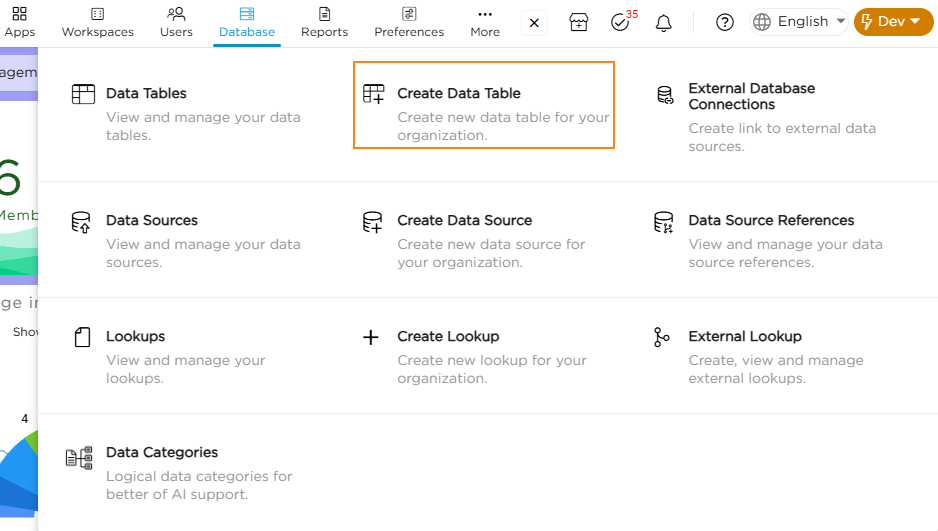
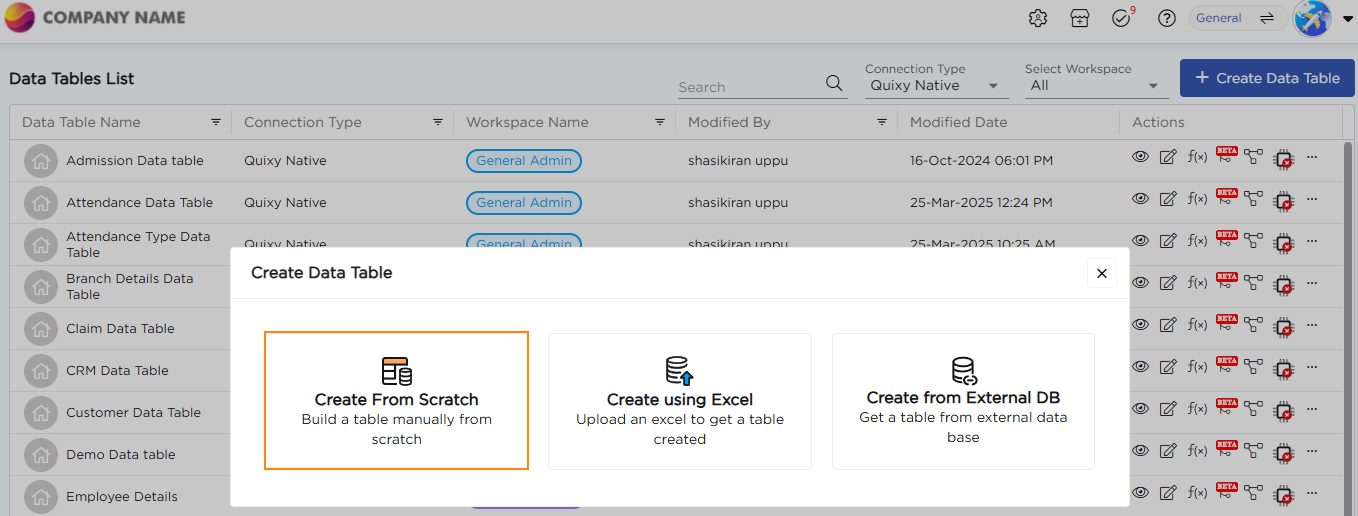
2. Choose Create from Scratch to create your data table. A Create Data Table pop-up window will appear.
3. Provide a name for the table and choose where to save the data table.
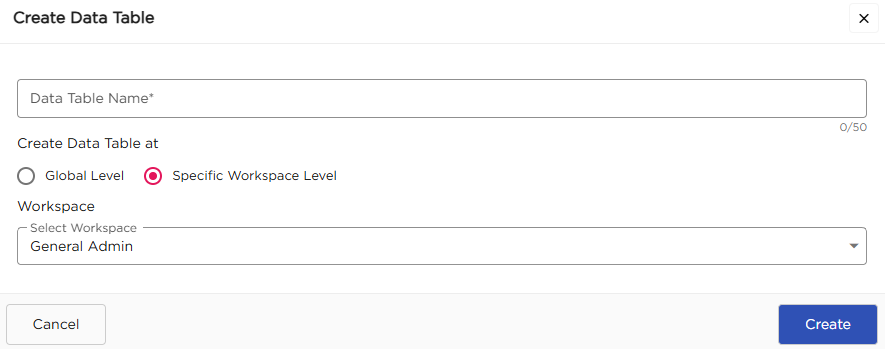
- Global Level: A globally saved data table can be accessed by any application across any workspace. It is ideal for datasets that are shared across multiple apps or departments.
- Specific Workspace Level: A workspace-level data table is confined to a specific workspace. It can store or retrieve data only from applications linked to that same workspace.
4.If you select Specific Workspace Level, choose the required workspace.
5. Click Create and you will be redirected to the Table Configuration Page
6. Click Manage Columns to start adding fields to your data table.

7. A pop-up window will appear, allowing you to configure the table’s schema.
8. From the field palette, drag and drop the required fields on the canvas to define the columns of data table.
9. For each field added, configure its properties such as:
- Field Name
- Data Type (Text, Number, Date, etc.)
- Default Value
- Mandatory or Optional setting
- Field Length or Constraints
10. Use the Key option to mark a field as Primary or Composite key.
.gif)
10. Ensure each field aligns with the data structure required by your application.
11. Click Save.
12. Upon saving a confirmation dialog appears asking to create basic CRUD functions.
13. Click Yes to create the CRUD functions.
14. The data table is now created and listed on the Data Tables List page.
¶ 1. Instruct Caddie to Generate Single or Multiple Data Tables
Citizen Developers can use plain text commands to instruct our Caddie to create data tables, including multiple tables with relationships and keys, automatically. Caddie generates a high-level ER diagram and allows for iterative adjustments through simple text instructions until requirements are met.
.gif)