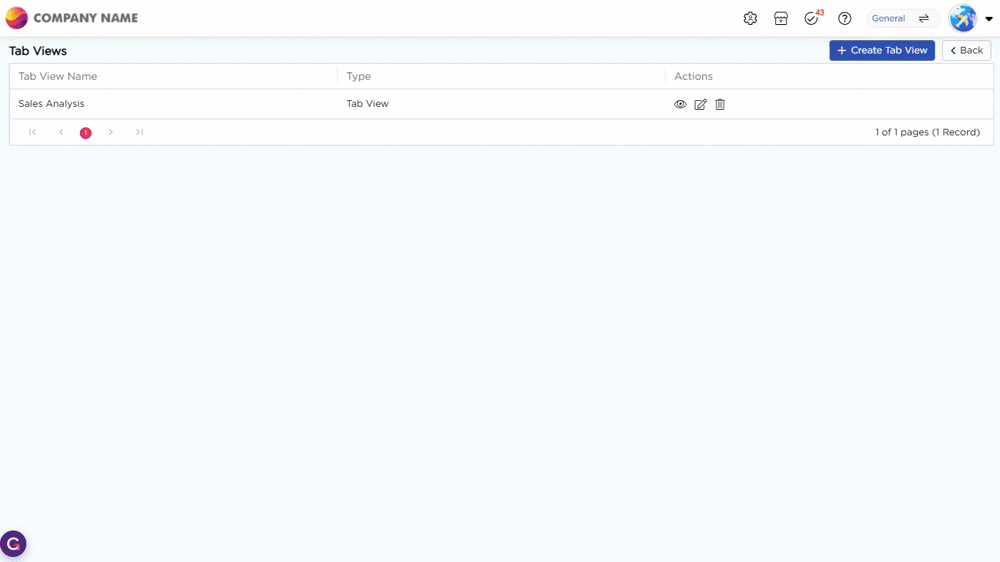
A Tabbed View allows you to organize and access multiple reports and views of a single data source within one screen using tabs. Each tab represents a selected report or view, enabling you to switch between artifacts instantly without navigating away.
This helps you analyze the same dataset in different formats while maintaining context.
¶ 1. Pre-requisites for Tabbed View
Before you begin to create a List View, ensure the following pre-requisites are ready:
- Data Source: A data source is available
- Reports/Views: The data source contains multiple reports and/or views
- Access: Users have access to the required artifacts
¶ 2. Creating a Tabbed View
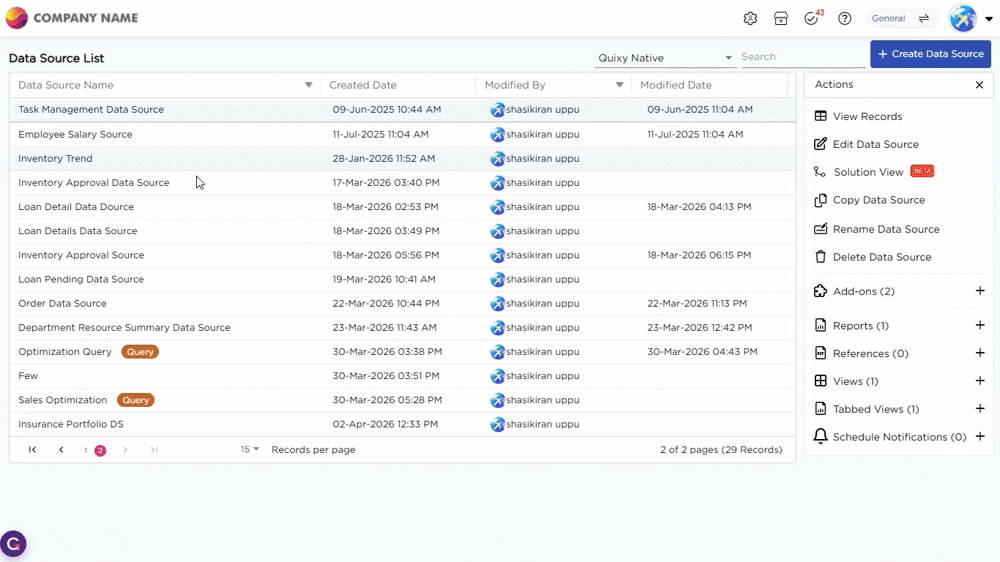
You can create a Tabbed View from the Data Source List page:
- From the Data Source List Page, select the required data source to create a Tabbed view.
- Click the selected data source to open the Actions panel on the right.
- Click the "+" icon corresponding to the Tabbed Views option in the Actions panel to start creating a new Tabbed view.
Refer to the GIF below to see how to create a Tabbed View:
¶ 3. Tabbed View Landing Page
The Tabbed View landing page is the main screen where you configure and manage tabs. It is divided into three sections: Title Bar, Tabs Section, and Content Area.
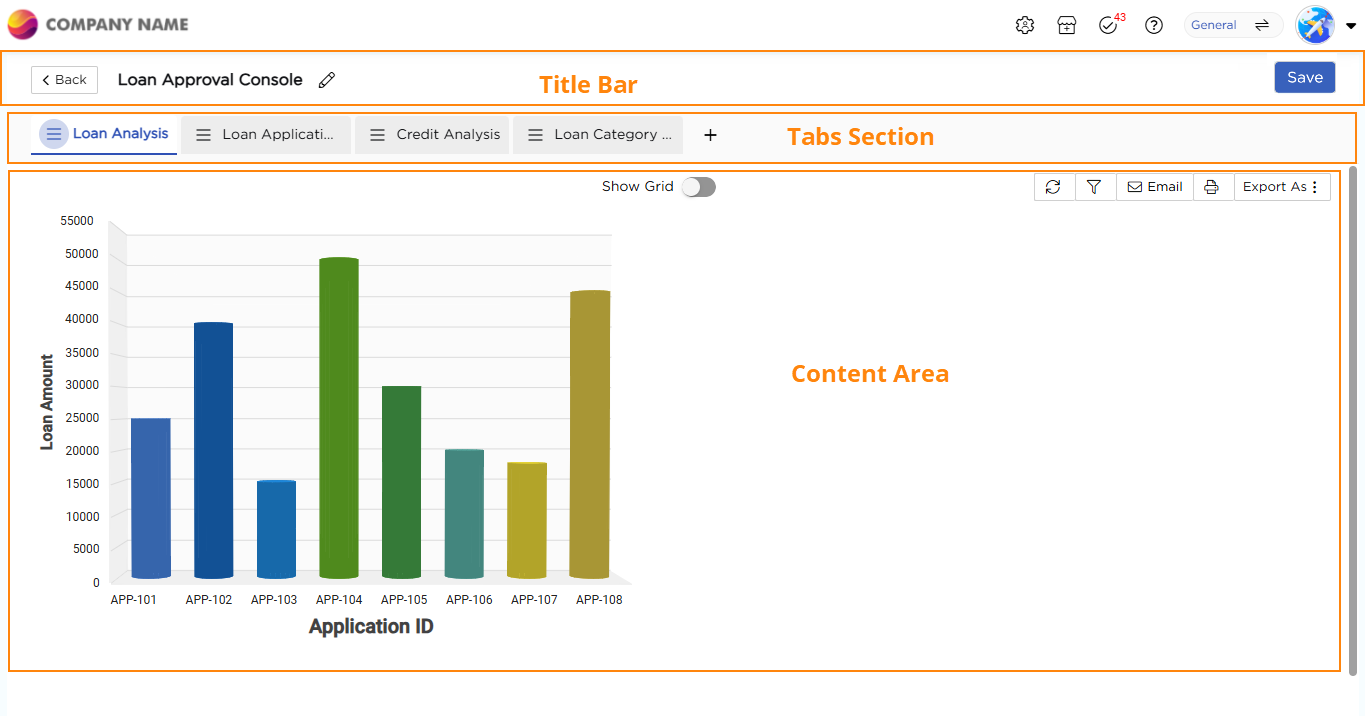
¶ 3.1. Title Bar
The Title Bar appears at the top of the page. On the left, it shows the Tabbed View name with an option to rename it. On the right, it shows the Save button and Back button.
¶ 3.2. Tabs Section
The Tabs Section is displayed below the Title Bar. By default, a tab is created when the Tabbed View is opened. The default tab does not contain any report or view initially. A “+” icon is available to add new tabs. Each tab will display content only after an artifact is added. Clicking a tab switches the active content and the content area updates based on the selected tab. You can also rearrange tabs to change their order as needed. Each tab also provides options to:
- Rename the tab.
- Change the associated report or view.
- Remove the artifact from the tab.
- Delete the tab.
¶ 3.3. Content Area
The Content Area is the main section where the selected report or view is displayed for the active tab. When you open a Tabbed View for the first time, the screen appears empty. A default tab is available, but no report or view is added to it. At this stage, the Content Area shows the Add Content to “Tab” option. This indicates that no artifact is configured yet.
To start using the tab:
- Click Add View or Report.
- The system displays a list of reports and views created from the same data source.
- Select the required report or view.
Once selected, the chosen artifact is loaded and displayed in the content area. This is where users view and analyze the data. Each tab remains empty until you add an artifact. Only after adding a report or view does the tab start displaying data.
Once done with the configuration, provide a name for the Tabbed View and click Save.
Refer to the Gif below to view the Tabbed View in Action: