This section explains how to create and save an external database connection.
¶ 1. Create an External Database Connection
- Navigate to the Admin Menu → Database → External Database Connection.
- The External Database Connections page opens. Click + Create External Database Connection.
- A Create External Database Connection page opens.
- On the Create External Database Connection page fill in the required details:
- Select Database Type: Choose MSSQL or PostgreSQL.
- Connection Name: Enter a unique name to identify the connection.
- Connection String: Paste the connection string provided by your database admin or third-party system.
Example Connection String:
Data Source=172.162.12.36;Initial Catalog=EmployeeData;User ID=sa;Password=n@v@yUg@kw!x##Breakdown:
- Data Source: IP address or server name of the database
- Initial Catalog: Database name (e.g., EmployeeData).
- User ID: Username used for login (e.g., sa for system administrator).
- Password: Password for the username. (Use a strong, secure password to protect access).
¶ 1.2. Test the Connection
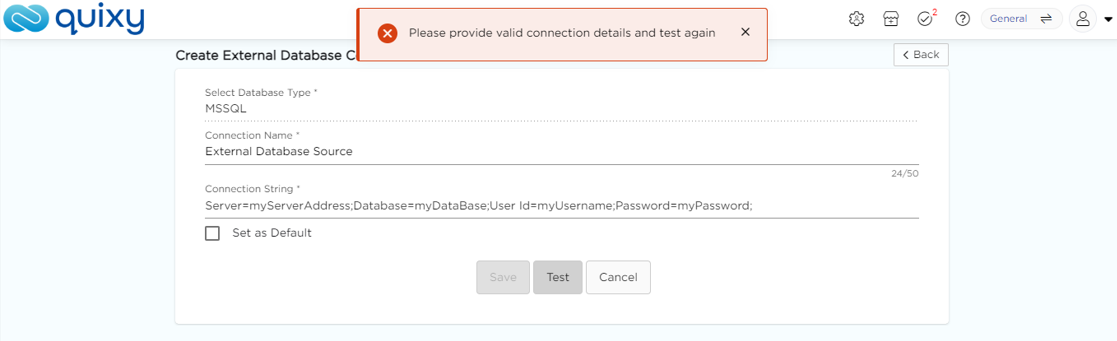
Click Test to verify your connection details.
- If incorrect, the system shows: “Please provide valid connection details and test again.”
- If successful, you’ll see: “DB connection established successfully.”
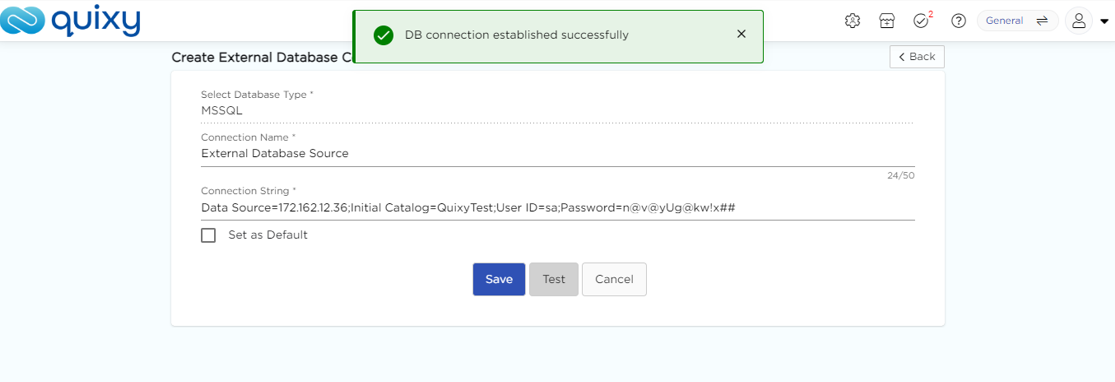
¶ 1.3. Save the Connection
- After a successful test, click Save to store the connection.
- To make this the default connection, select Set as Default before saving.
Once the connection is created, you can build data tables using live data from the external database.
Learn more how to Create a Data Table Using External Database.