The Report element allows attaching an existing report from the Quixy platform directly to the application. This simplifies data presentation and ensures seamless integration between form entries and report details.
Follow these steps to configure the Report element effectively:
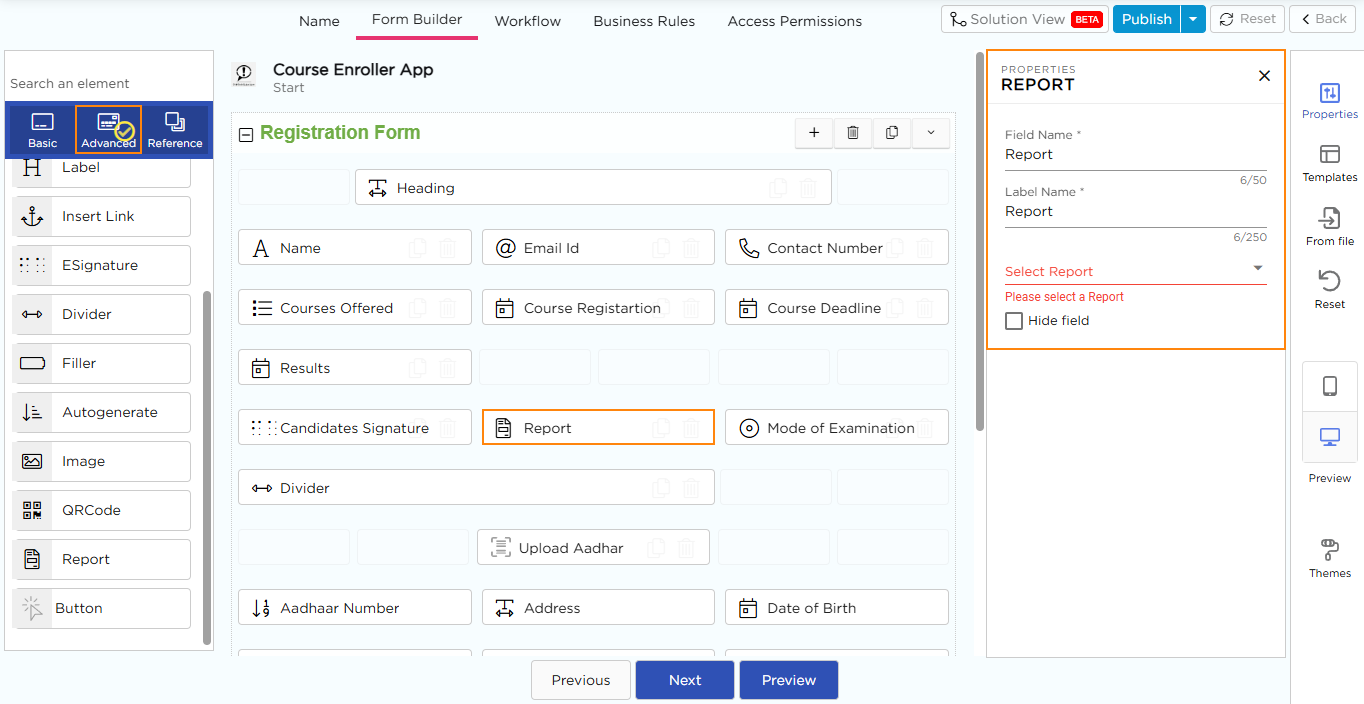
Navigate to the Form Builder, under the Advanced Elements category, drag and drop the Report element into the application. Once added, the Properties panel will appear on the right side displaying the Report Properties.
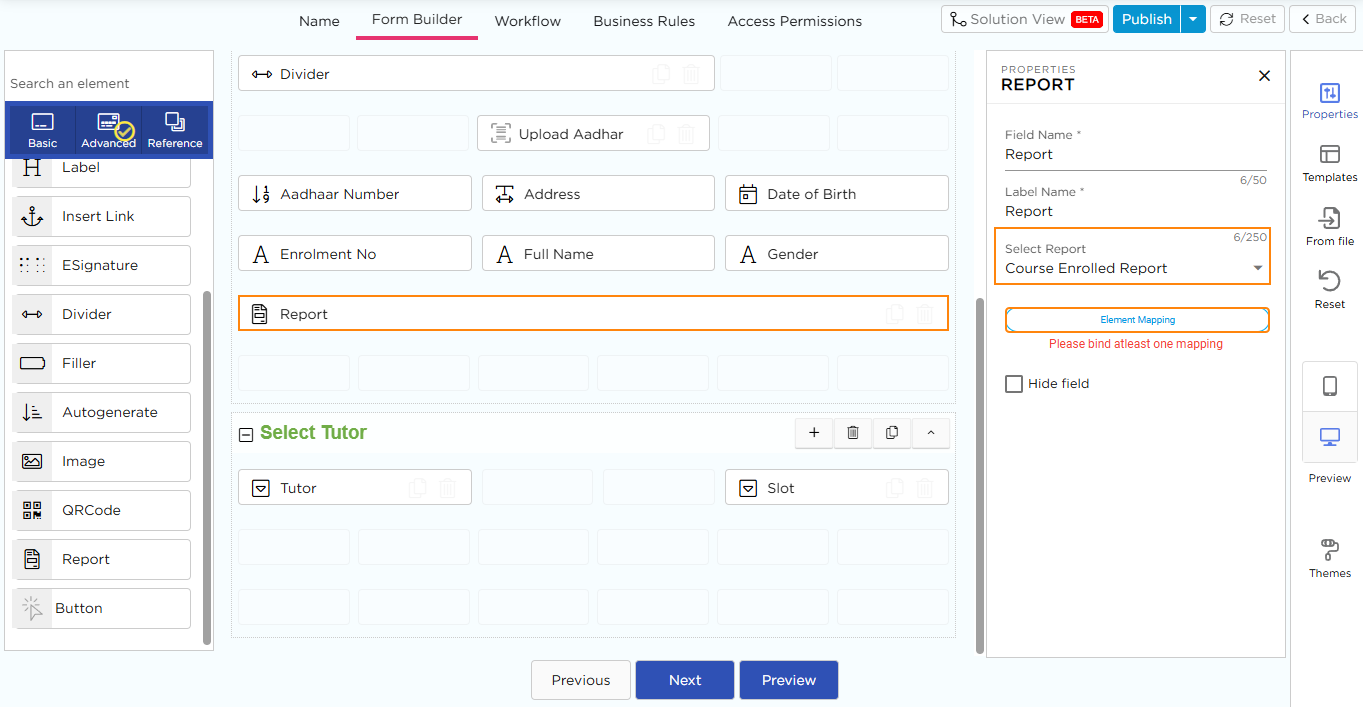
In the Properties panel, locate the Select Report dropdown.

Choose a report from the list of available reports.
Once a report is selected, the Element Mapping button will appear below the dropdown.
Click the Element Mapping button to open the mapping interface.

In the Element Mapping popup, two columns will be displayed:
Report Elements: These are the data points from the selected report.
App Elements: These are the corresponding fields from the form.
Property Type (if required): Select the relevant property type for each mapped element from the dropdown.
Element Value (if required): Specify the appropriate value if needed.
Once the mapping is complete, click the Save button to apply the settings.

Report - Properties

Field Name: Provide a unique name for the field which is visible for CDs while building application.
Label Name: Provide a unique name for the field which will be visible for the end-users.
Select Report: Choose a report from the available list using the dropdown. This connects the selected report to the form.
Hide Field: Hides the field from being viewed.
.png)


