.png)
General
- 3 Minutes to read
- Contributors


General
- 3 Minutes to read
- Contributors
Article summary
Did you find this summary helpful?
Thank you for your feedback!
This article provides an overview of essential platform features that enhance application accessibility and improve user navigation. It covers options for opening applications, redirecting users post-record submission, configuring section display properties, and highlighting key data fields. Understanding these features will help you create seamless and efficient workflows within your applications.
Let's explore each feature one by one.
1. App Open Link

The App Open Link field directs the application to open in Add Record mode or App Data mode based on the selected option when you open the application after publishing it.
The App Open Link has the following options:
Add Record: The Add Record option directs the application to open in the Add Record mode whenever you open the application.
App Data: The App Data option directs the application to open its app data whenever you open the application.

2.Redirect To
The Redirect To selection panel allows you to define where users should be redirected after submitting a record in the application.

The available options are:
Dialog popup: After adding a record in the application, platform will display a pop-up, as shown below.
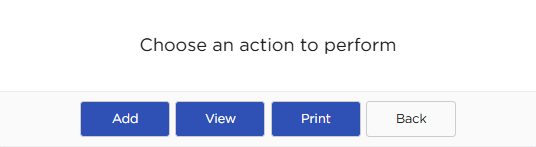
If you click on the Add button, the same application will open in Add Record mode.
If you click on the View button, the latest record that is added in the app will display in view (Read-only) mode.
If you click on the Print button, platform will show you the print options for the application.
If you click on the Back button, you will be redirected to the main dashboard page.
New Record: After adding a record in the app, platform will automatically redirect you to the Add Record page of the same application.


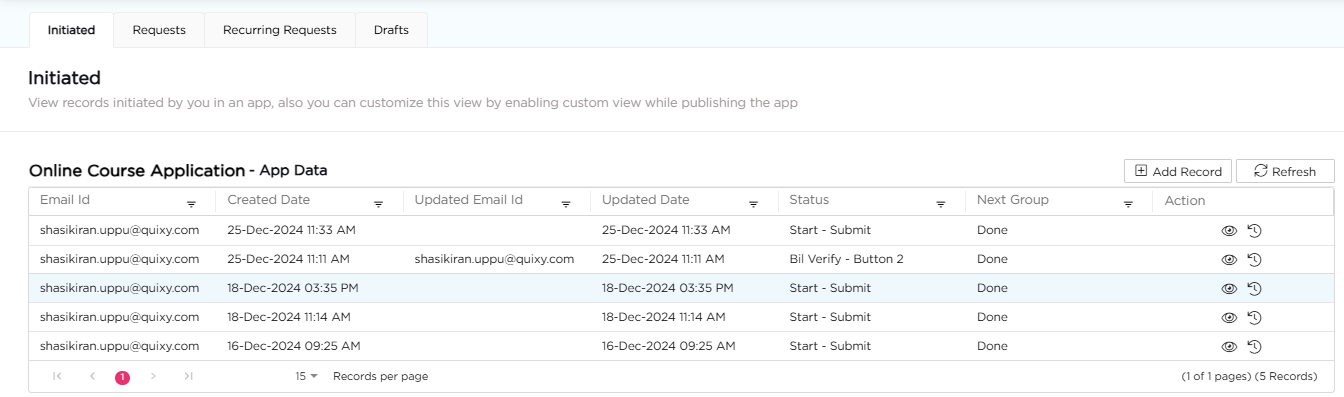
App Data: After submitting a record in the app, platform will automatically redirect you to the Initiated page where you can see all the history of the data that you entered and submitted in the app.
Note
You can navigate to Initiated page from User Profile -> My Activities -> Initiated.
Home: After adding a record in the app, platform will automatically redirect you to the main dashboard.
View Record: After adding a record in the app, the platform will open the same app as a report where you can see the data of the latest record in read-only mode.

Print Record: After adding a record in the app, the platform will open a print pop-up to print the submitted section along with the latest data.

Download Record: Provides an option to download the submitted record as a file for reference.
3.Sections Display Properties
Citizen developers can now offer their users one of the four distinct methods to interact with the form builder’s sub-sections.
a. Sections as list: Displays all sections in a vertical list format.

b. One section at a time: Displays only one section at a time; users can navigate between sections.

c. Sections as tabs: Displays each section as a tab for easier navigation.

d. Sections as tabs, except the first section: The first section appears in full view, while remaining sections are presented as tabs.

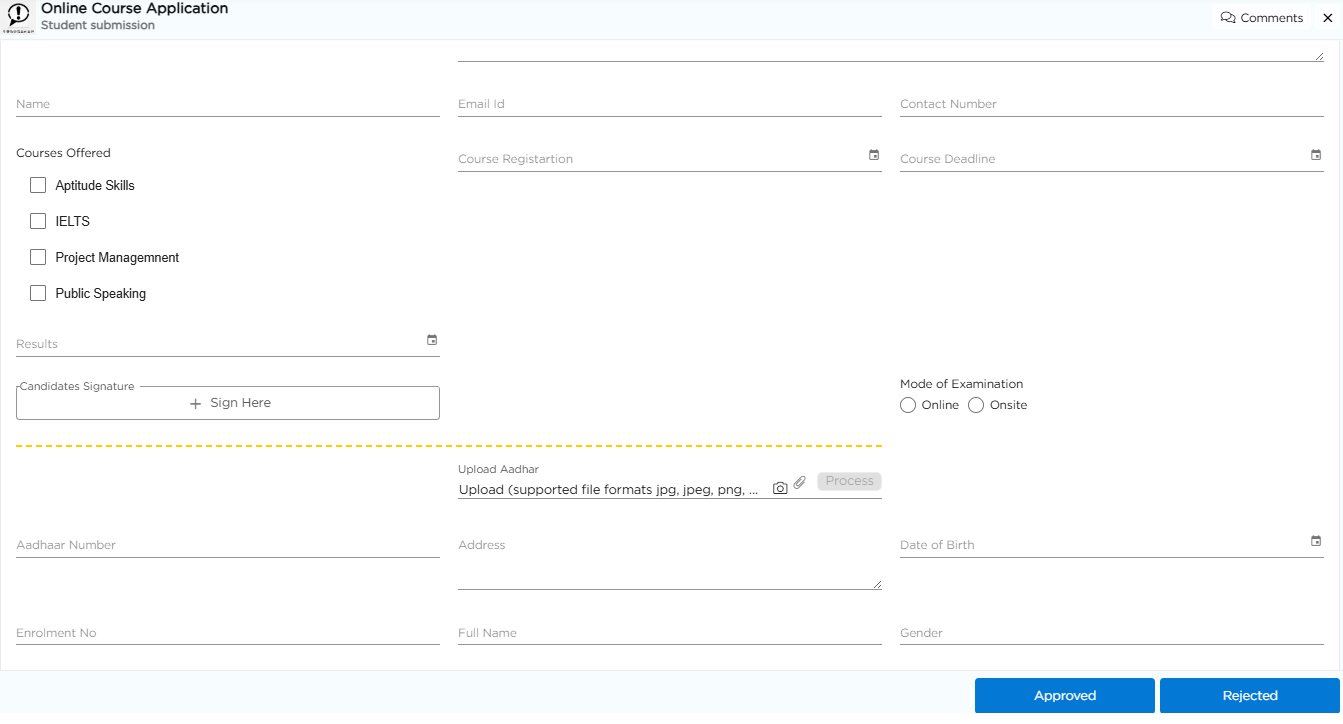
4.Highlighted Fields
The Highlighted Fields drop-down lists all the element fields available in the app. From these, you can select up to three fields to highlight. When a record is submitted, the data from these selected fields will be displayed alongside the task message, ensuring key information is visible upfront.
Example
Let us take a leave application. If an employee applies for leave, his/her manager will get a task to approve or reject the application.
Now, let us assume a Leave Application that contains multiple fields such as:
Employee Name
Employee ID
Department
Leave Date
Type of Leave
Reason for Leave
If you choose Employee Name, Leave Date, and Type of Leave in the Highlighted Fields drop-down, these details will appear directly within the task notification when a leave request is submitted.

According to the above example, the data of these fields will display in the task that is generated for the manager. Refer to the image below.

5.Additional Settings
In addition to the above settings, the platform offers the following additional options to enhance app functionality:
Readonly Fields Style: It is used to define the appearance of read-only fields by choosing between 'With Border' or 'Without Border' for better visual distinction.
Enable Comments: When enabled, users can add comments while submitting records. When disabled, adding comments will not be possible.


Custom View: Enables a custom view of app data elements, allowing users to highlight specific fields in their transaction history for easier access. To know more read the article on Enable Custom View.
Enable Notifications: Allows users to configure notifications for various events such as task creation, task completion, and custom notifications. To know more read the article on App Notifications.
Was this article helpful?
